
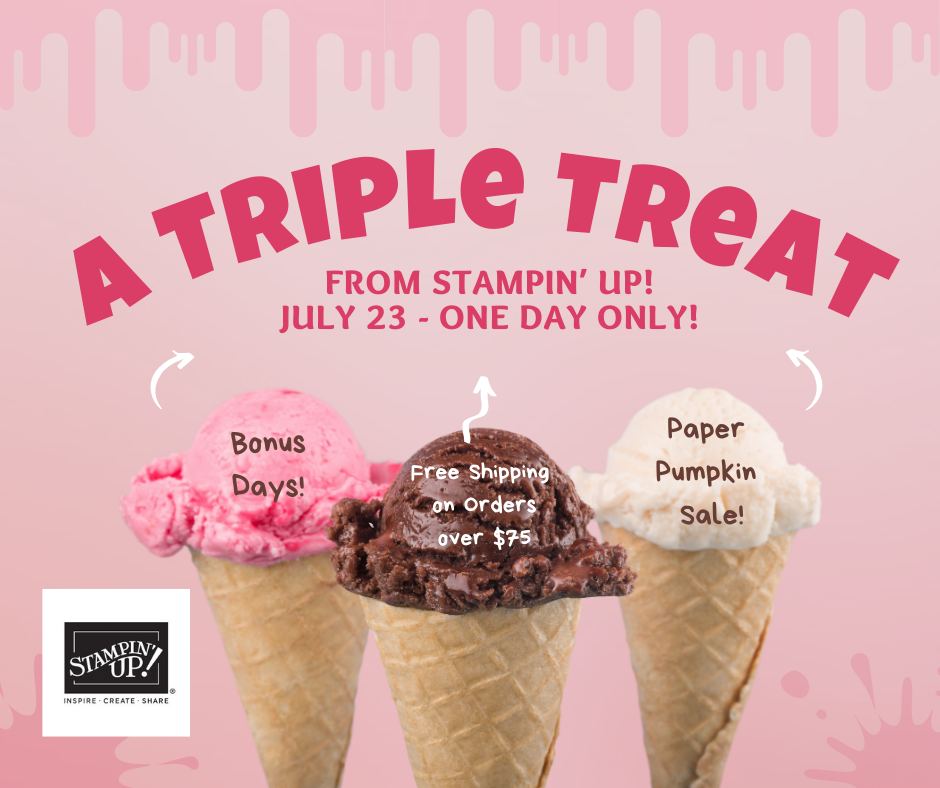
Surprise! Stampin’ Up! is offering a Triple Treat:
- There will be FREE SHIPPING on orders of over $75 THROUGH JULY 24!!
- BONUS DAYS continue through the month of July. Receive a $5 coupon in an email for every $50 you purchase, and redeem the coupon on August in an online order!
- On July 23 – 25, all active Paper Pumpkin subscribers can save up to 75% off on refills, past kits, and add-ons!
Here’s the icing on the cake — start combining: July 24 is free shipping, so get those items you’ve been looking at. THEN shop your favorite Paper Pumpkin products at a discounted price and don’t worry about any shipping fees. As if you didn’t need any further reason to start shopping…any Paper Pumpkin purchase WILL count toward the Bonus Days earning period. Discounts do not apply to monthly or prepaid subscriptions.
BONUS DAYS ARE BACK!

When you shop between July 3 and July 31 and spend $50, you will earn a $5 coupon! Make sure you save all your coupons because you can redeem them (and we mean ALL of them) between 1–31 August. The promotion kicks off with orders on July 3.
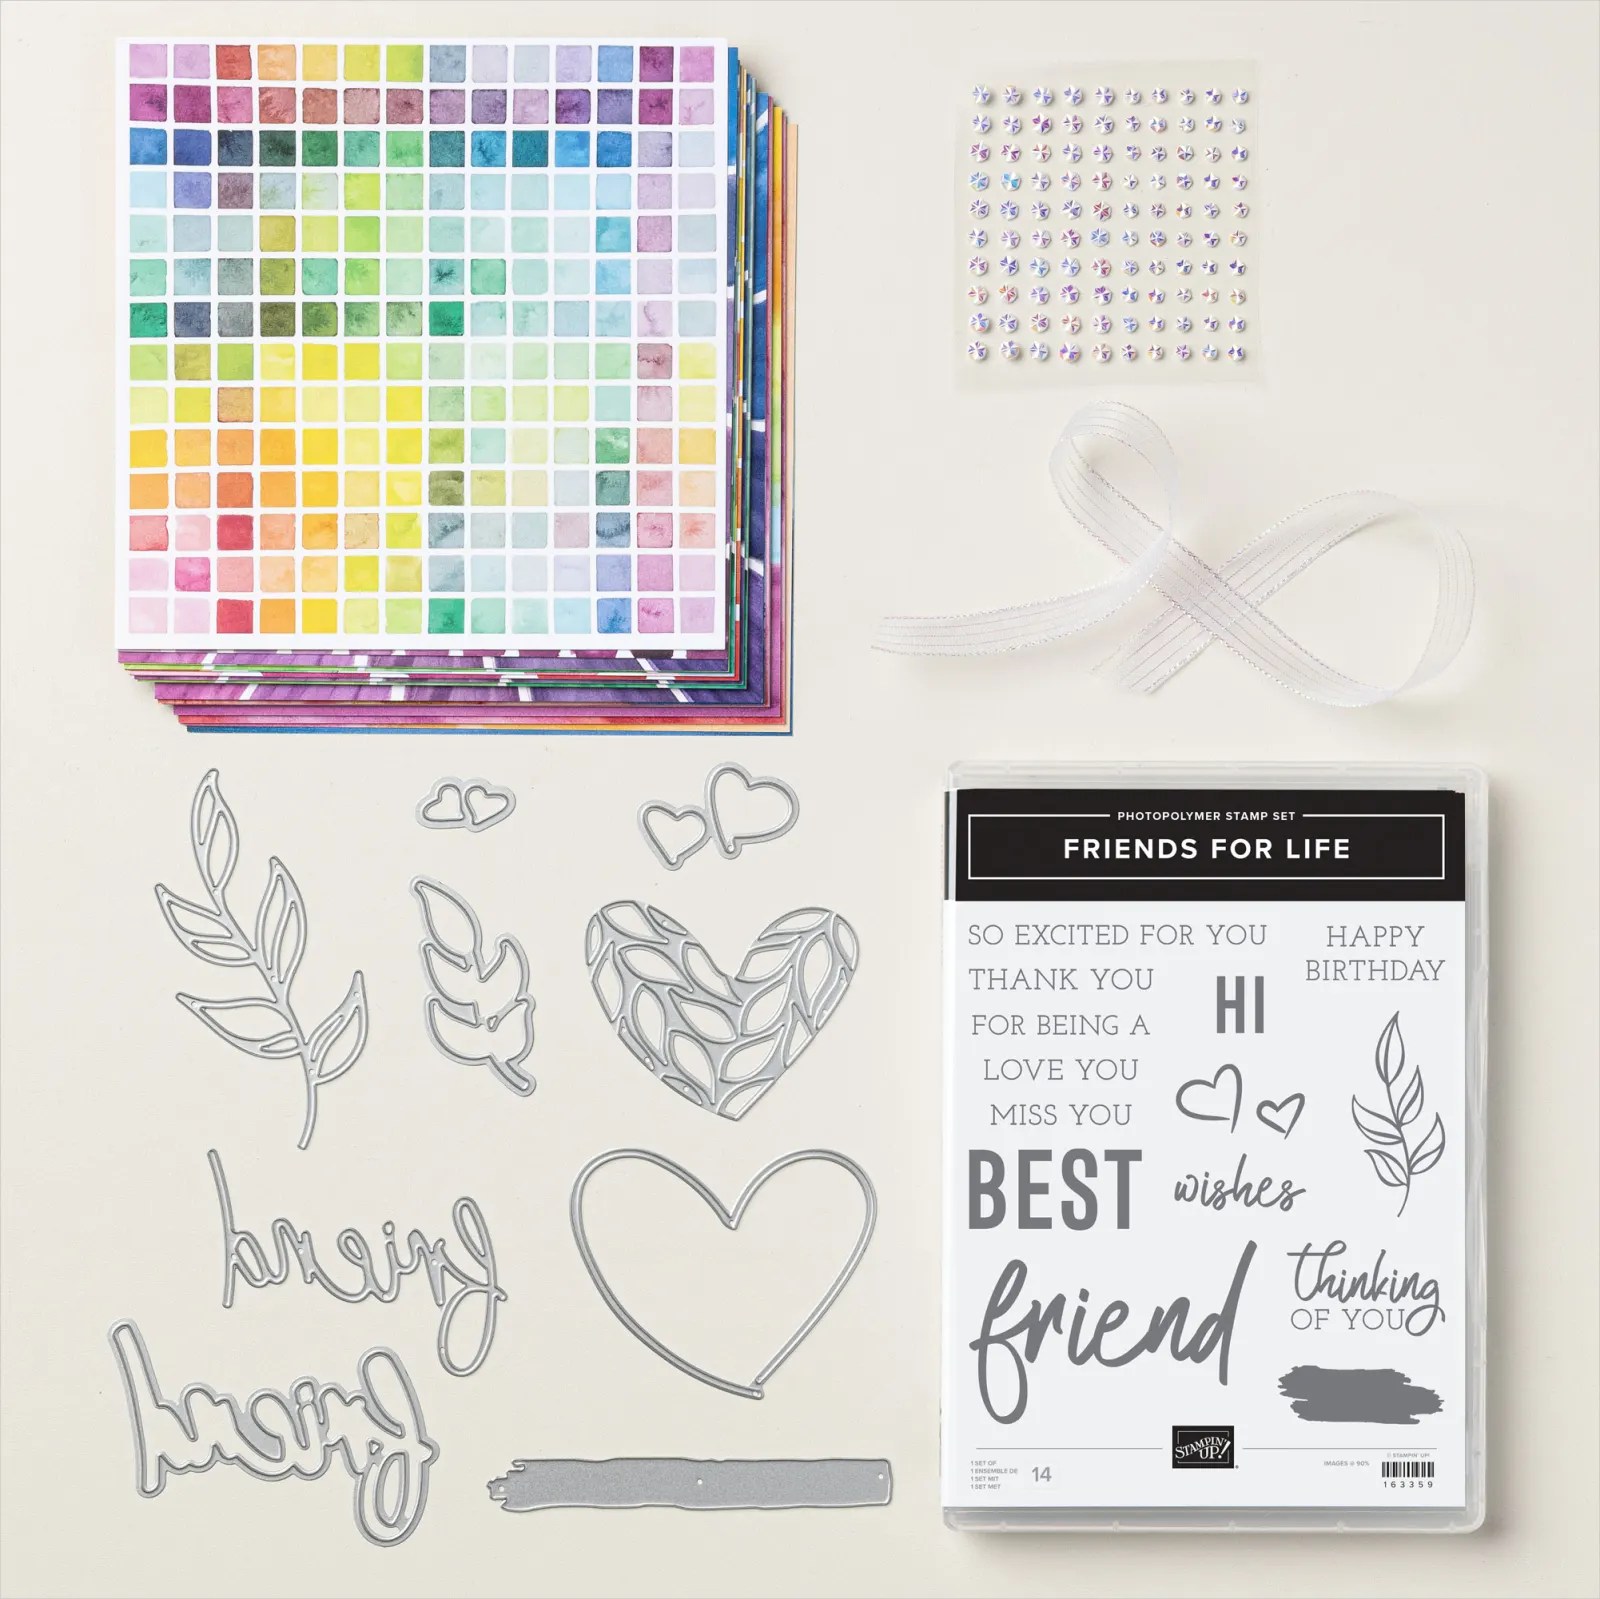
ONLINE EXCLUSIVES

Many new products that are now available ONLINE ONLY and will not be found in any catalog. These Online Exclusives were launched at the same time we could start to earn Bonus Days coupons! Love it!
The products include all-occasion products as well as Fall, Halloween and Christmas products. We’re coming up on my favorite time of year for stamping — yippee!
Be sure to use this Host Code for JULY if you make an online order of $50 or more. You will receive (from me) a free gift from me — a tutorial bundle of over 20 card tutorials with complete instructions and measurements!
JULY Host Code: AN6FFU4D
Note: This host code is not for club members.
Please let me know if you have any questions. And be sure to join my Up North Stampin’ Gang Facebook page. We are having SO much fun over there! We post, we share, and just enjoy life! Here’s the link to request to join: https://www.facebook.com/groups/199783410436824
Mary


")
")
 Designer Series Paper")


")
 Designer Series Paper")


")


 Designer Series Paper")
")


")
 Designer Series Paper")


")


