Stampin’ Up! is offering an EXCITING SALE for March! During the month of March, you can snag the Mini Stampin’ Cut & Emboss Machine at a 20% discount AND you can build your craft collection with any (or all!) of the select stamp-and-die bundles that are also available for 20% off during the month of March! This miniature machine is compatible with a large selection of Stampin’ Up! embossing folders and dies.

Here is a flyer for your convenience! Click HERE to download and/or print! I would always rather look a photo of the stamp set and dies that are on sale, right? Scroll down the PDF to the second page to see all the bundles at 20% off!
If you haven’t already, it’s time to meet your mini crafting companion: the Mini Stampin’ Cut & Emboss Machine! If this is your first encounter, allow us to introduce you.
Take a look at this video for more info!
Take your crafting to the next level! You won’t regret it! Keep reading for all the details about this discount!
- The Mini Stampin’ Cut & Emboss Machine will be available for purchase at a 20% discount.
- A number of select stamp-and-die bundles that are compatible with the Mini Stampin’ Cut & Emboss Machine will also be available for purchase at a 20% discount.
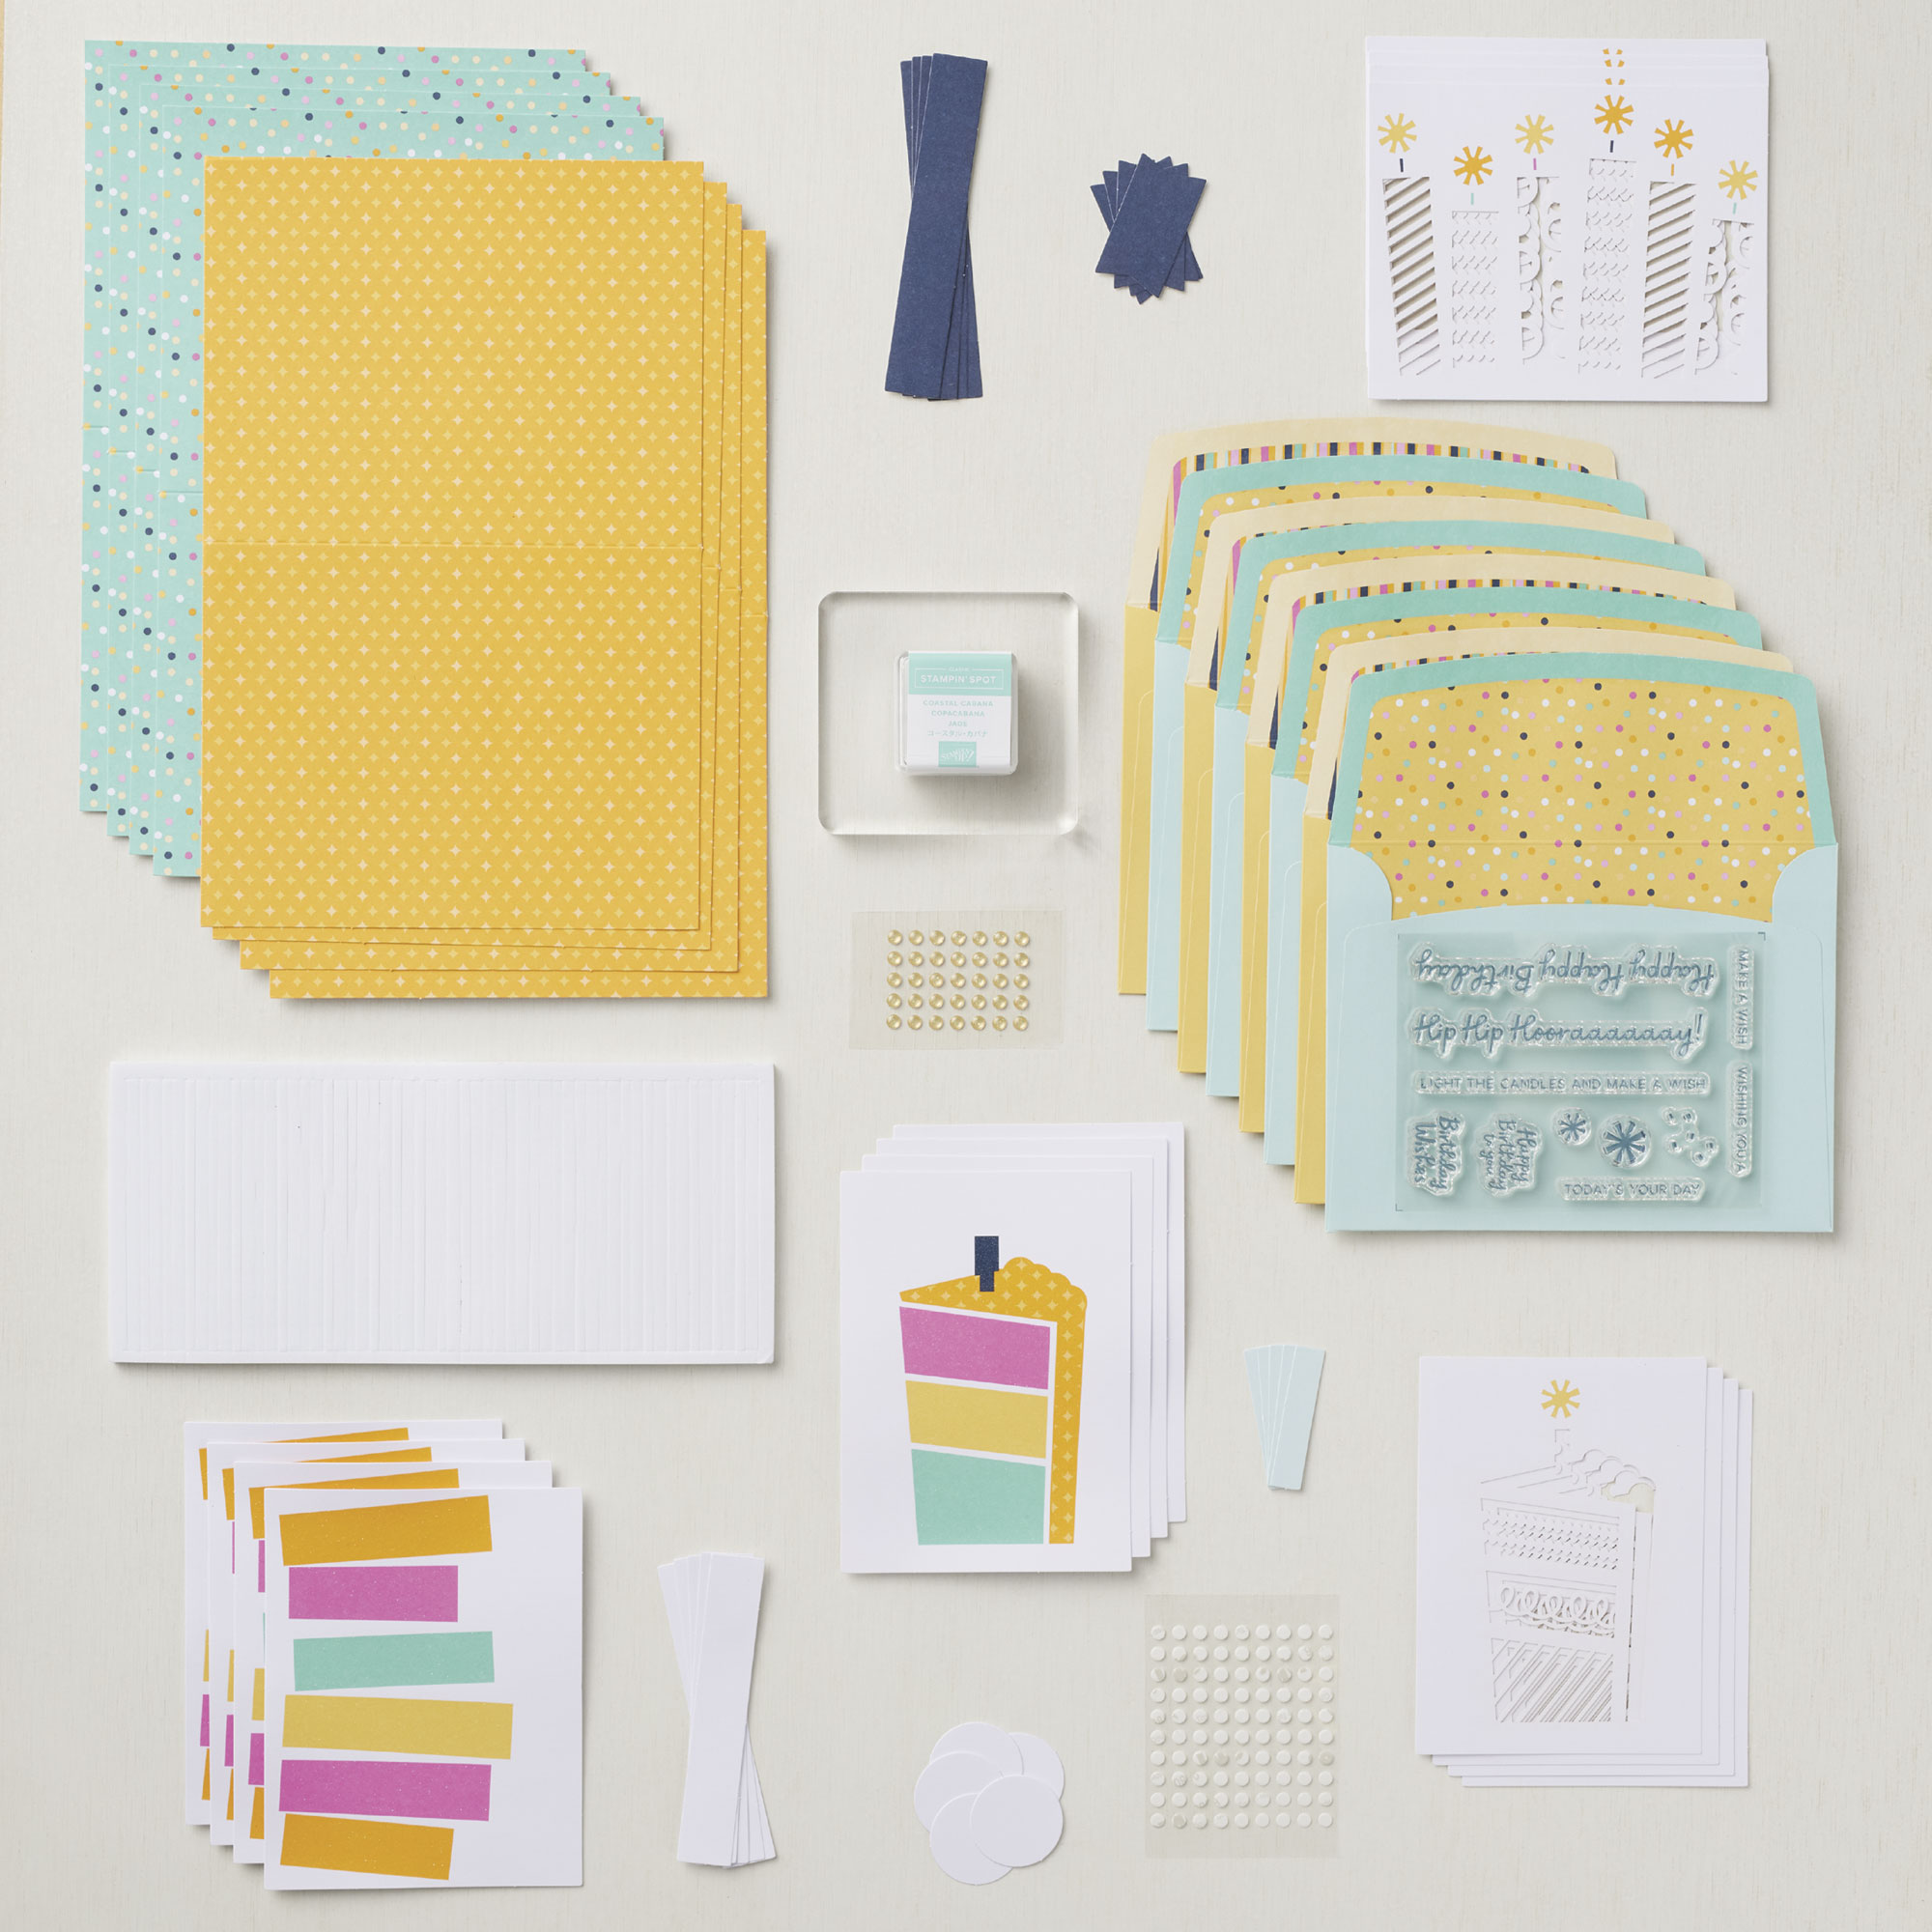
- For this promotion only, we’ve brought back the previously popular Art Gallery, Celebrate Sunflowers, and Garden Wishes bundles. They will only be available in their bundle form during this promotion, so make sure to snag ‘em while you still can!
- The Mini Stampin’ Cut & Emboss Machine and select compatible bundles can be bought together or separately.
- Products are available in all markets while supplies last. No backorders or substitutions will be allowed.
- The stamp-and-die bundles that can be found in a current catalog will be replenished until they retire. When they do retire, the bundles will be added to the Retiring List.
- Due to supply chain challenges, this promotion may be altered or ended early. We will post a Current Update with further information if this is anticipated.
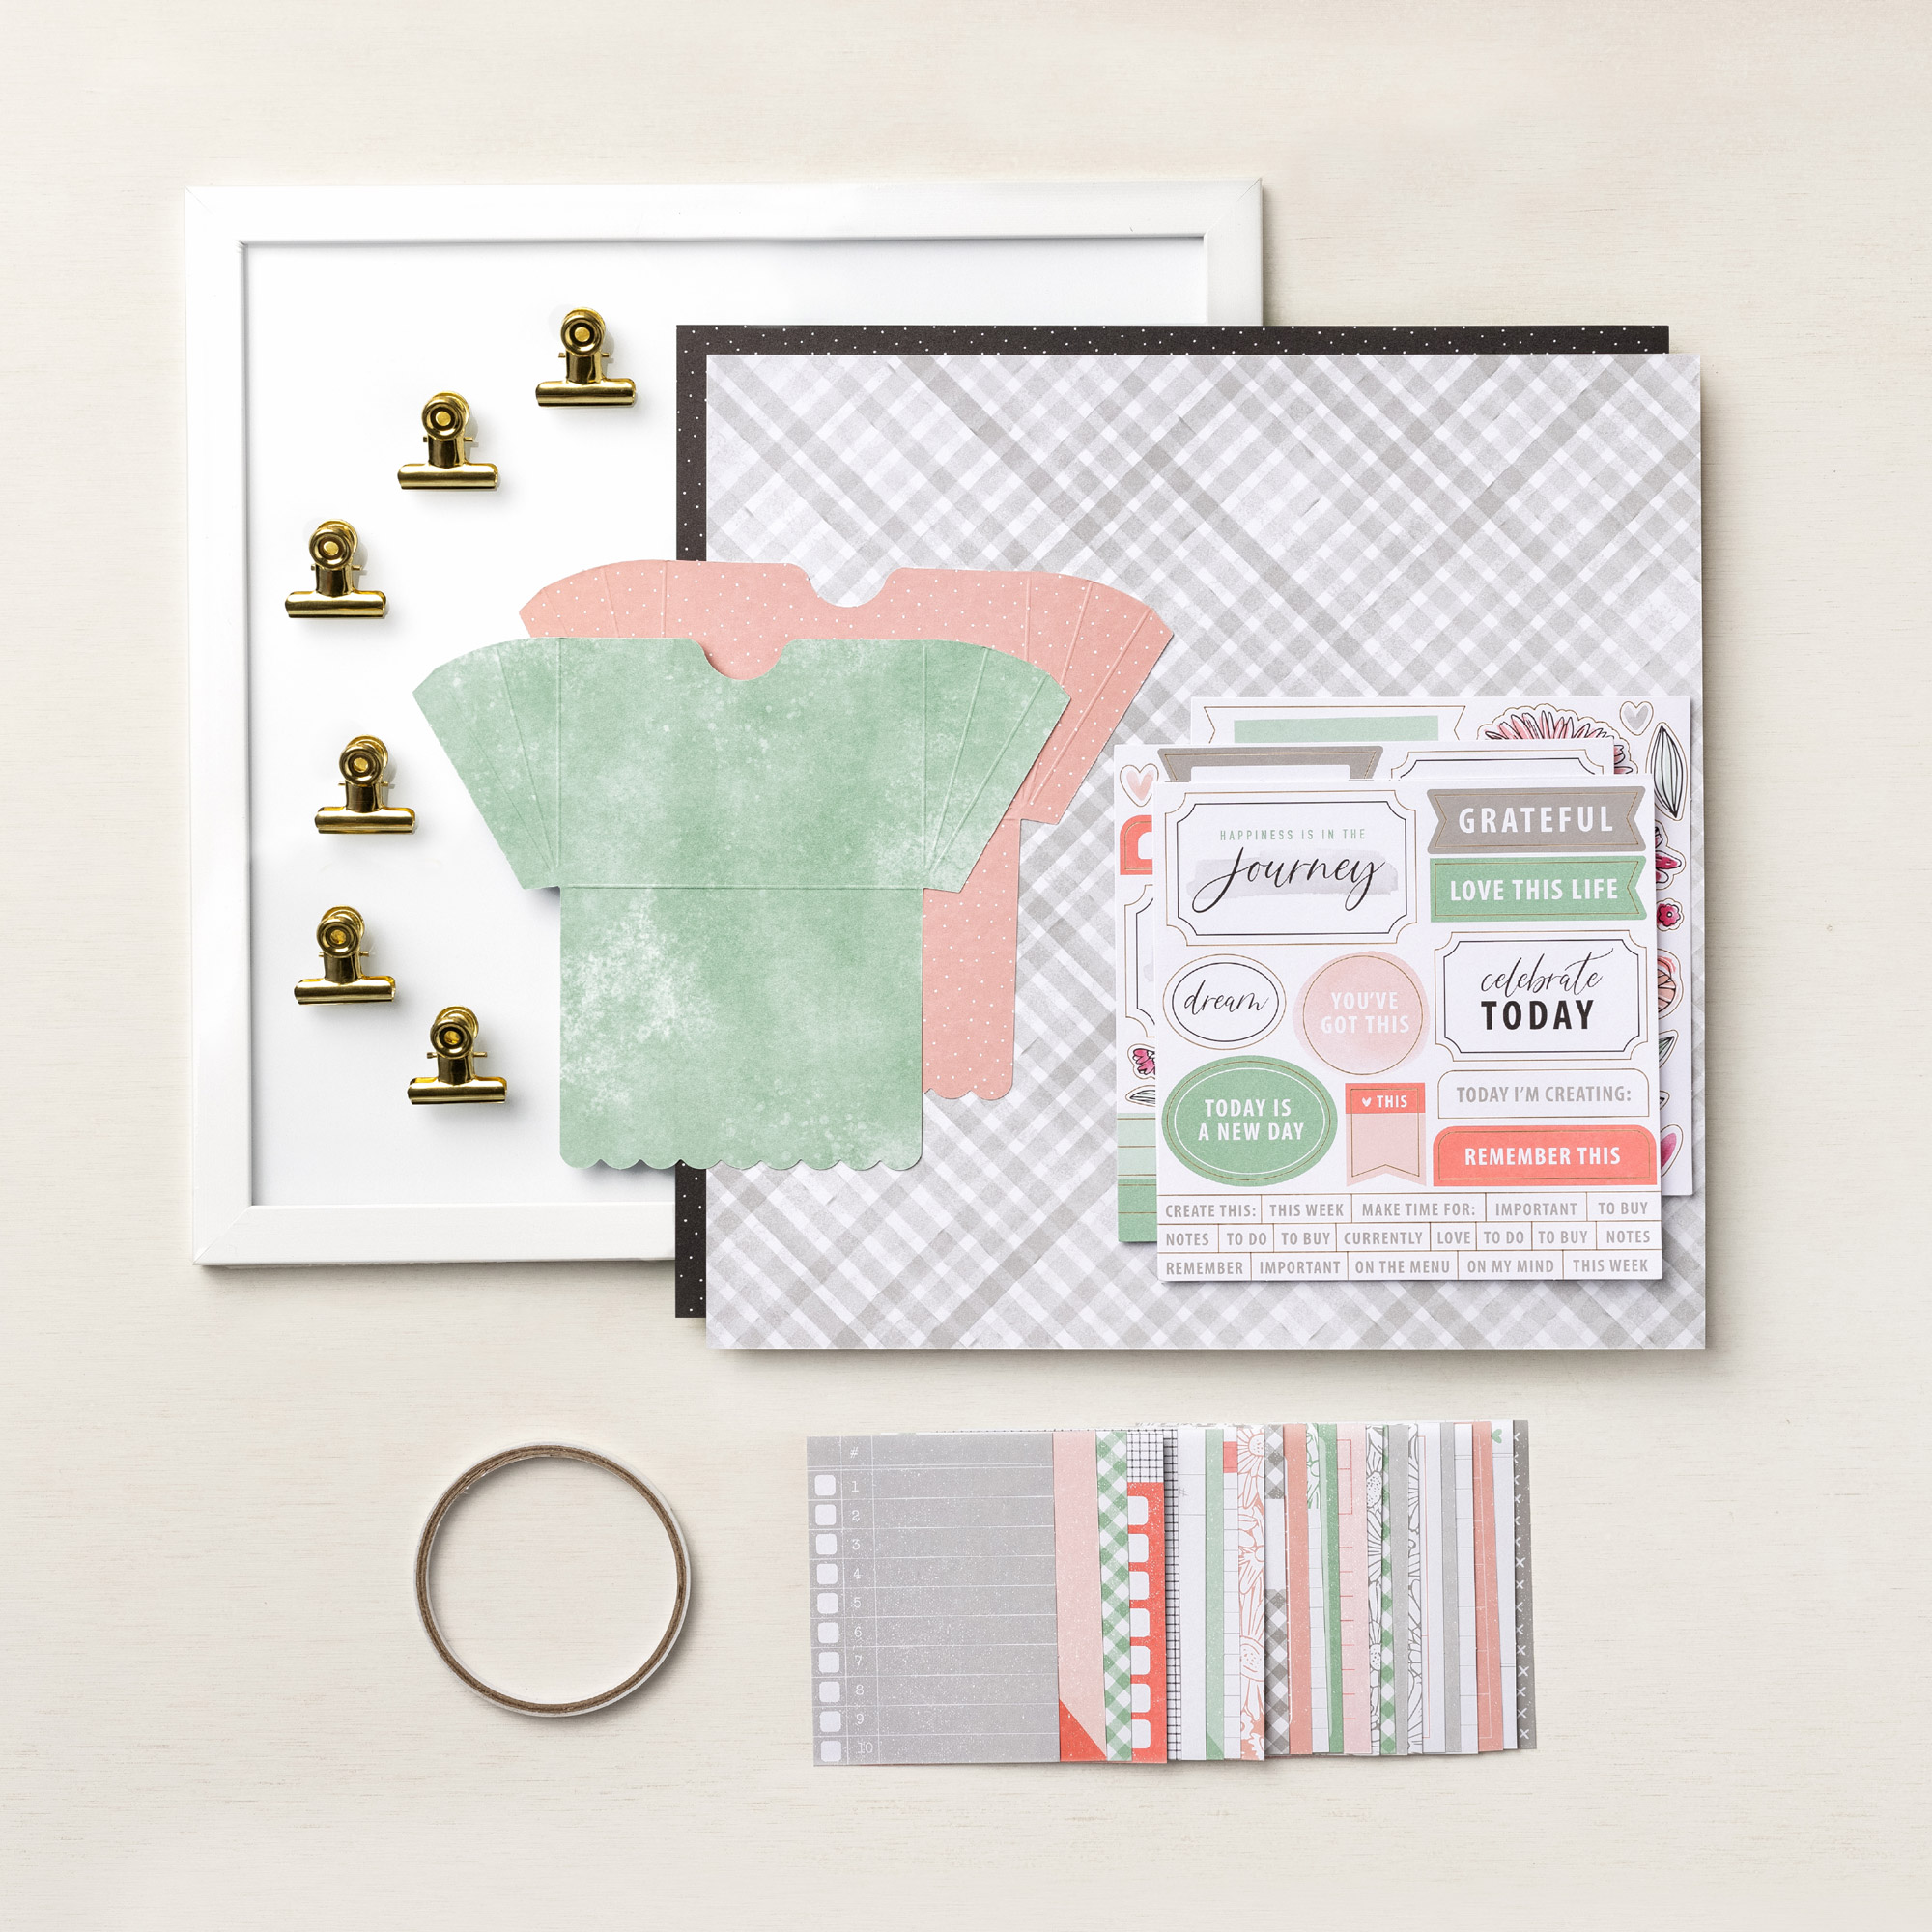
1. LOOKING FOR A FUN NIGHT OF CRAFTING TOGETHER? I’m going to be putting my Celebrate Today Stampin’ Up! kit together on TUESDAY, MARCH 15 at 7:00 pm! JOIN ME, and we’ll create together! Stampin’ Up! offers a variety of kits with everything you need to create beautiful projects, including an acrylic stampin’ block, ink, adhesives, and a stamp set! HERE is the link to all our kits!
I’ll send you a link to the LIVE class, and you’ll also receive a surprise from me in the mail once you have ordered your kit! OR just order and complete at your own leisure. It’s entirely up to you!
ORDER YOUR SALE ITEMS HERE by clicking on the images below!
 | ") |  |
") | ||
 | ") | ") |
 | ") |  |
 | ") |
")
")
Here is our MARCH Host Code! Make an online order through me over $50 or over, and receive a new package of 100 2020-22 In Color Squares! Love these! [Club Members, please use your own club Host Code.]

Host Code: T3SKWT4V
Happy March Stamping!
Mary


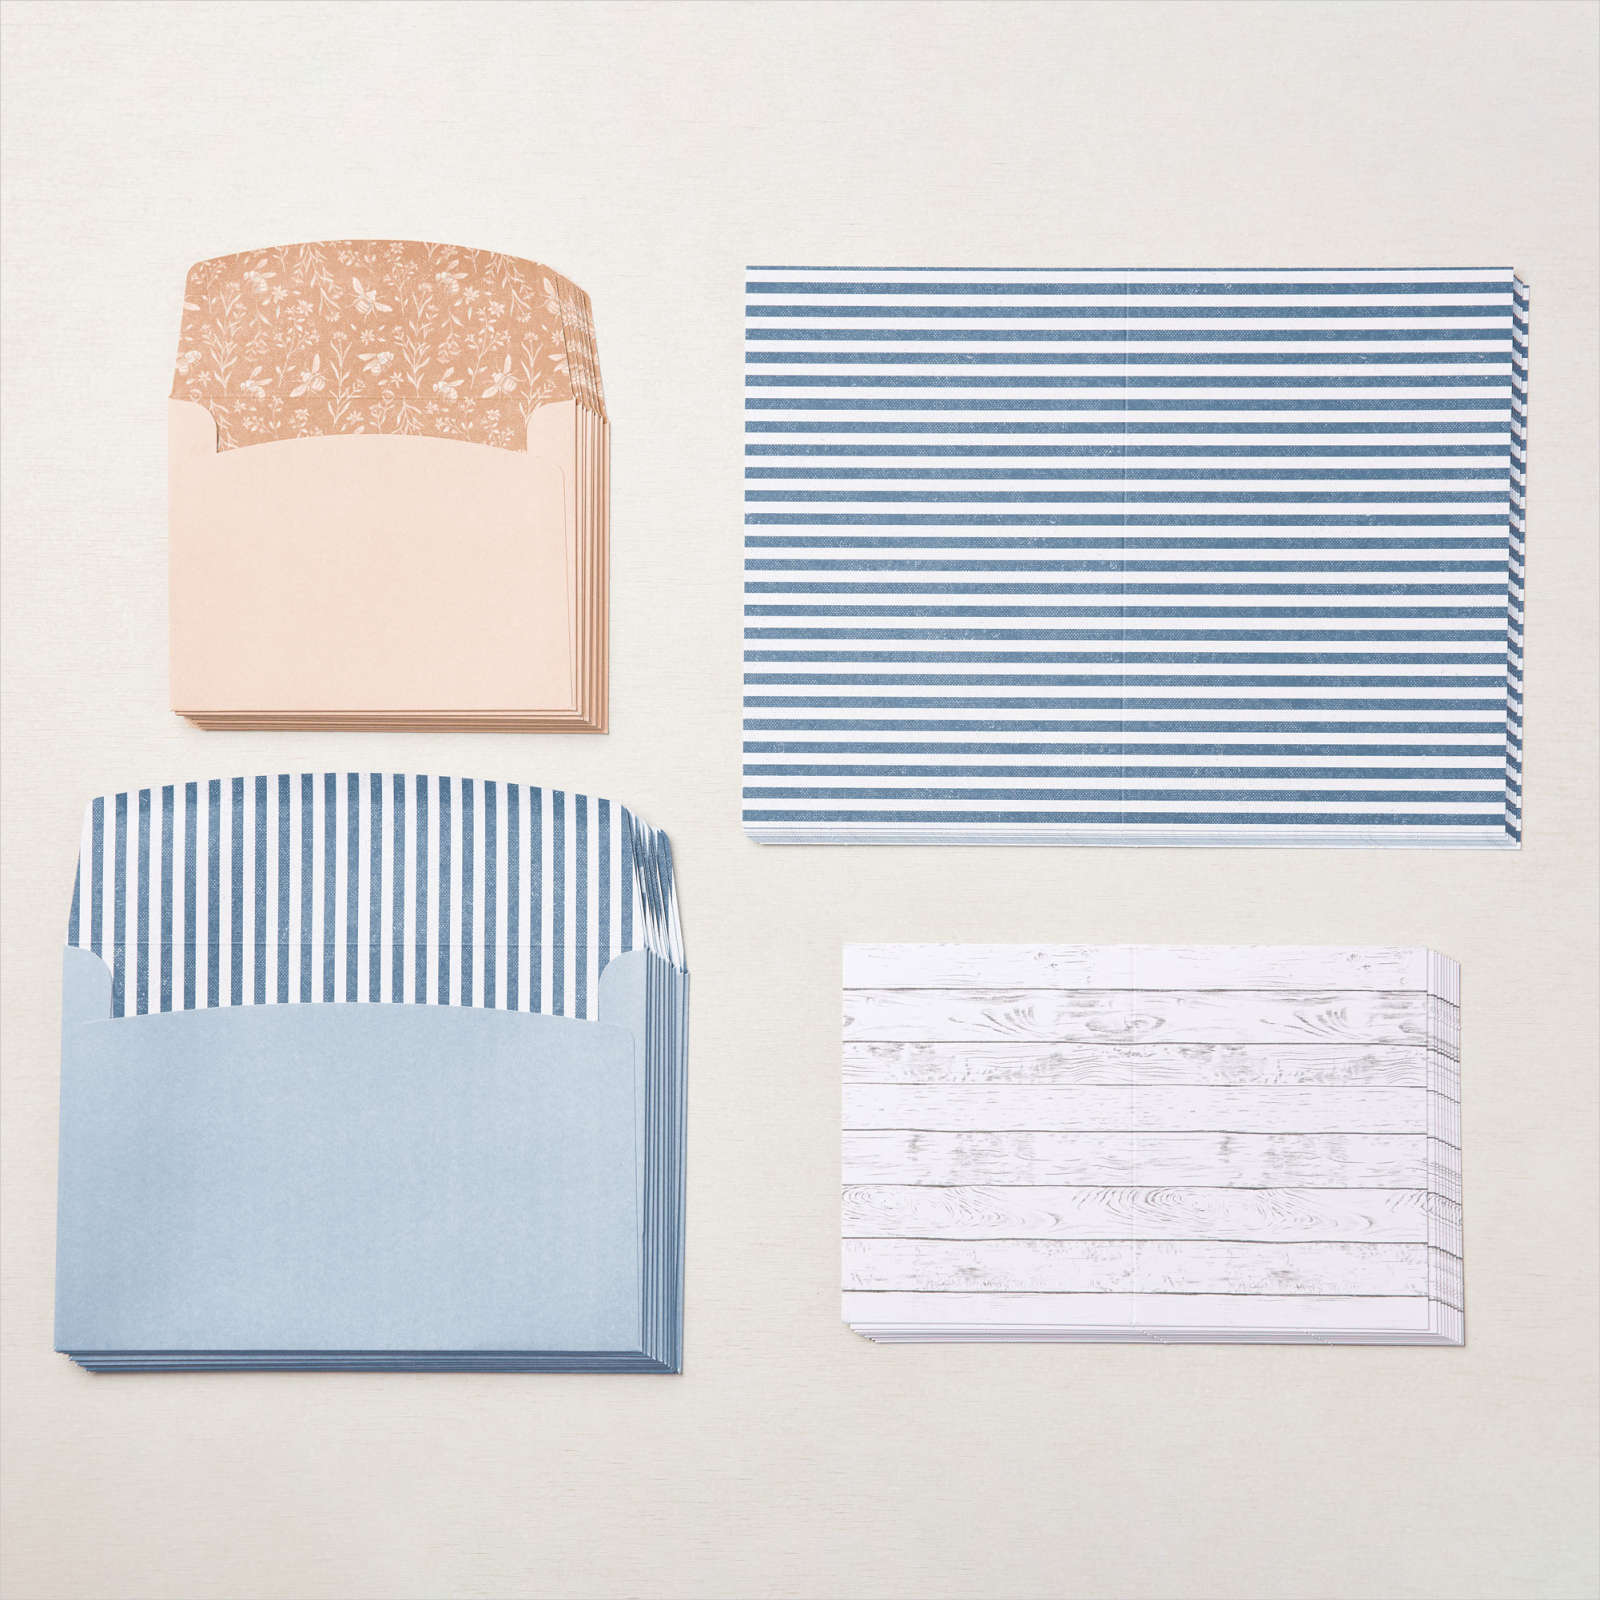
 Specialty Paper")
 Host Designer Series Paper")
 Specialty Designer Series Paper")


 Designer Series Paper")


")


 Gingham Ribbon")


")


")
")


 Designer Series Paper")


 Frayed Ribbon")


")


