There’s no better time than November for you to join my team with this fabulous Ultimate Bundle! For one month only, you’ll save over $20 on the normal Starter Kit! You won’t want to miss out on this outstanding offer. Instead of the regular $99, the Ultimate Bundle is only $75 and you choose $125 of papercrafting products! THAT’S a 40% Yes, please!

YES, you can purchase the starter kit for $75 and choose $125 worth of any goods from our annual and mini catalog. With Free Shipping!
Here’s some basic information, in case you have some questions!
WHAT IS A STARTER KIT?
The starter kit is your own choice of products from our current catalogs with a combined value of $125. You can make up your own starter kit to suit you and along with the products you have chosen, you will also receive a business supplies pack including catalogs to share with friends and family, order forms, etc., all delivered free to your address!
WHAT DO I HAVE TO DO IF I JOIN?
The only requirement to stay active is to reach the quarterly minimum of $300 every three months. There are no other requirements. But you have SO MANY OPTIONS! It is your business, your way. If you want to be your own best customer and benefit from the 20% discount on all products, then you can. If you want to make handmade cards and sell them for profit to invest in new products, then you can. If you want to craft occasionally with others and sell some product, then you can and if, like me, you do enough business to support your own habit, doing something you love, you can do that too! All the training and support you need is available from me and Stampin’ Up! but if you are happy to be left alone to do your thing, that is absolutely fine, too.
WHEN IS MY FIRST QUARTERLY MINIMUM DUE?
If you join IN NOVEMBER, you have until the END OF THE FIRST FULL QUARTER OF 2022, so March 30, to reach your first quarterly minimum. That’s huge. If you don’t want to anything else but buy your SU! stuff at a discount, you can drop at the end of March with no penalties, nothing to give back, good times and GREAT PRODUCT!
Do I think you’ll do that? NOPE. Because by then, you’ll be having so much fun! For example, you can a member of the Up North Stampin’ Team, and the Pretty Pals, a national group of demonstrators from around the country. You will LOVE the interaction, support, and love you get from our groups of fellow papercrafters! And Stampin’ Up offers virtual and in person events. You get Sneak Previews, you receive the catalogs earlier, and you get the financial bonus of 20 to 25% off every order!
WHAT IF I NEED HELP?
I am here to support you and so too, is Stampin’ Up! There is no pressure or requirement to participate in our community. But if you want to meet like minded crafters, there are loads of opportunities.
You may still have questions and I’d love to answer them for you. Please get in touch so we can see if joining is the right choice for you. Please feel free to call me at 218-280-1559 or email me at marya2hanson@gmail.com
I would absolutely love to welcome you to my team! Click here to walk easily through the process.
Mary


")
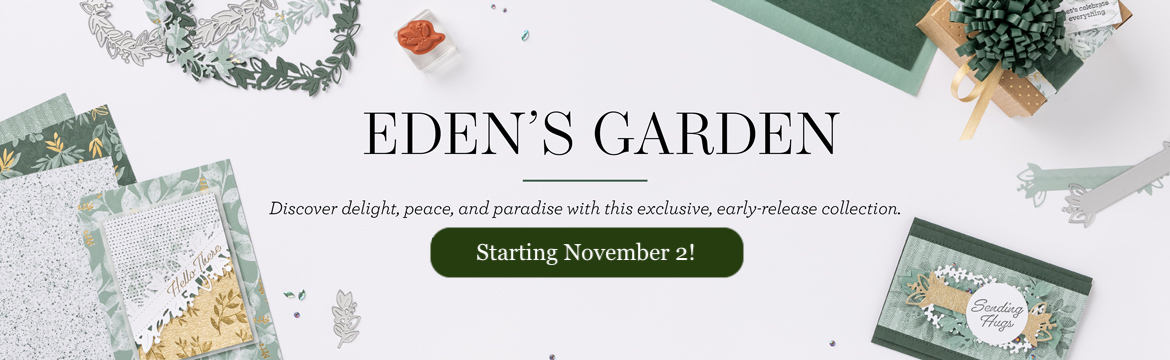
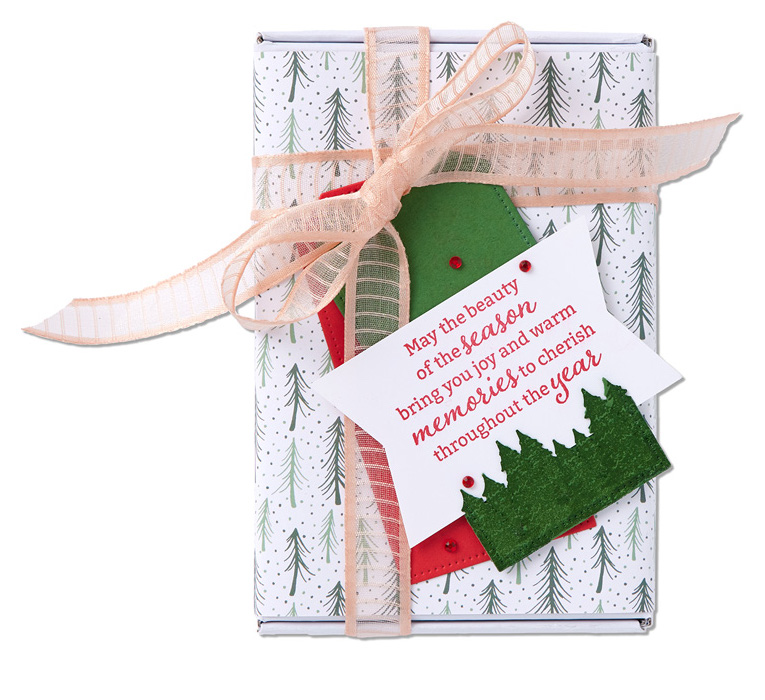
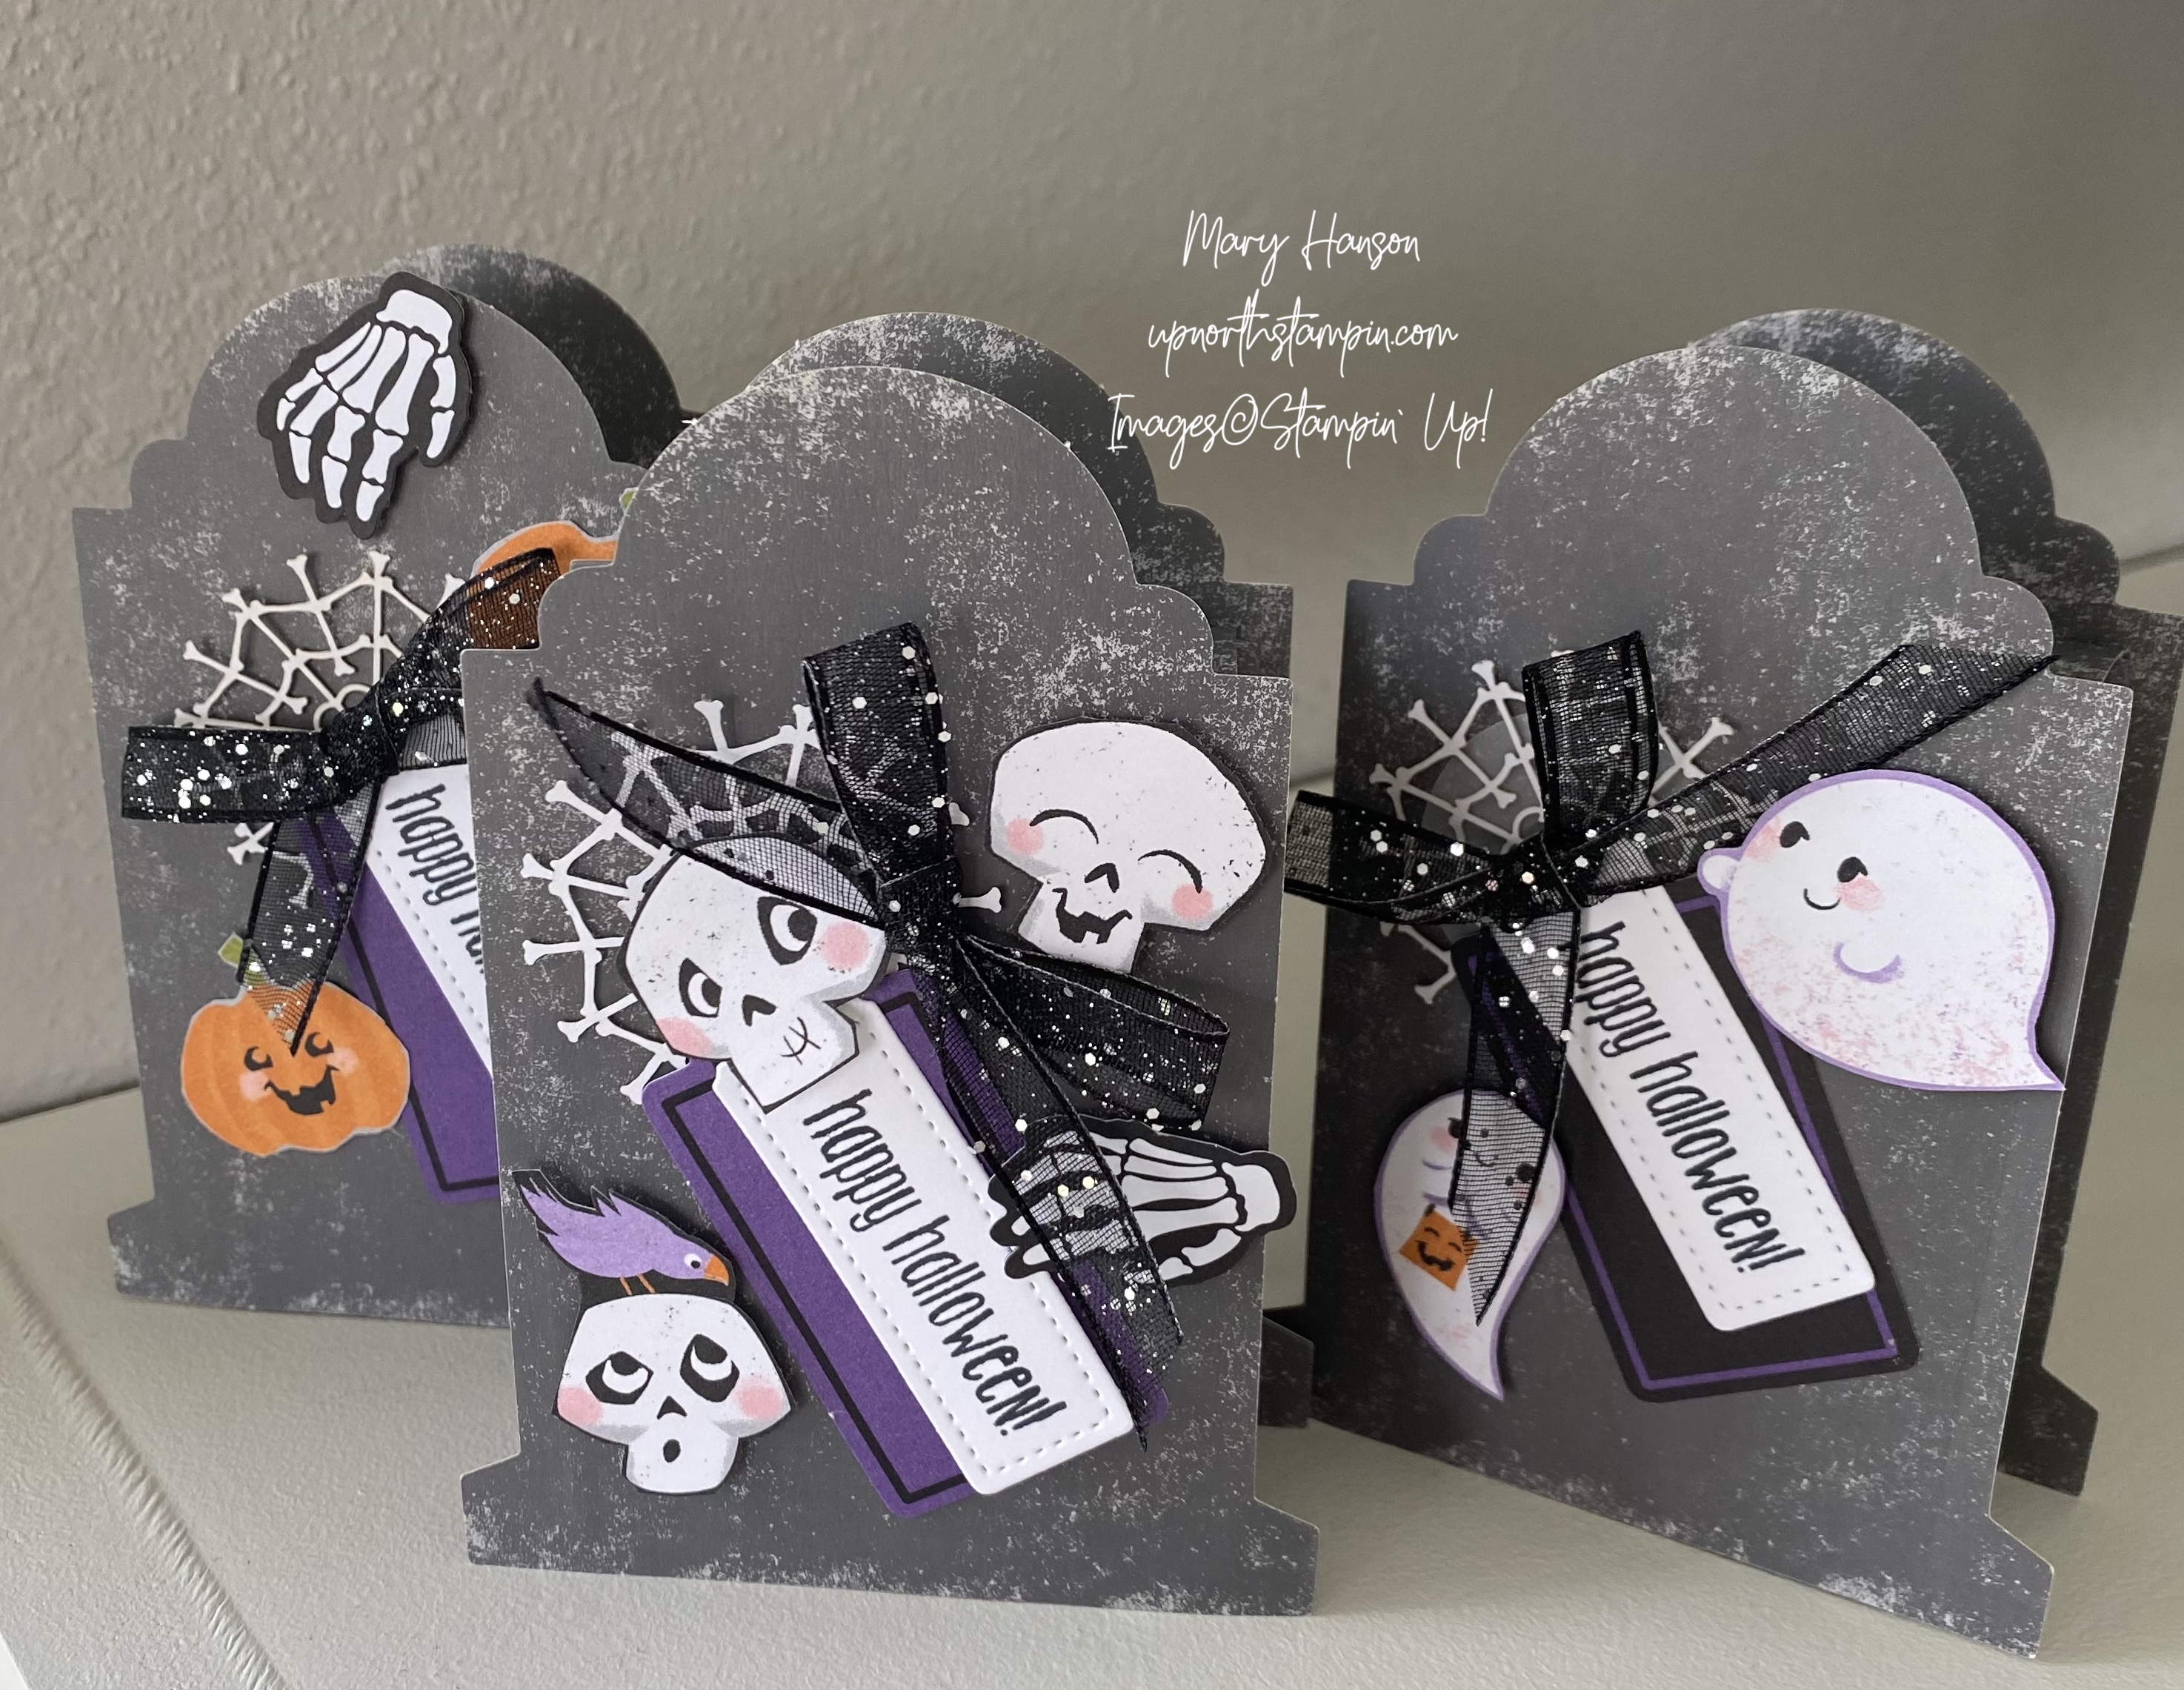
 Specialty Designer Series Paper")


 Specialty Designer Series Paper")


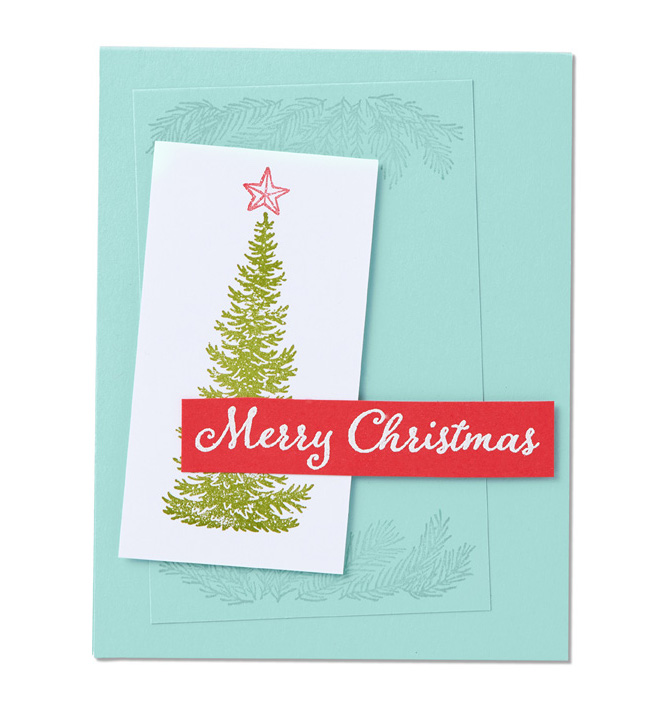
 Designer Series Paper")


")


 Open Weave Ribbon")


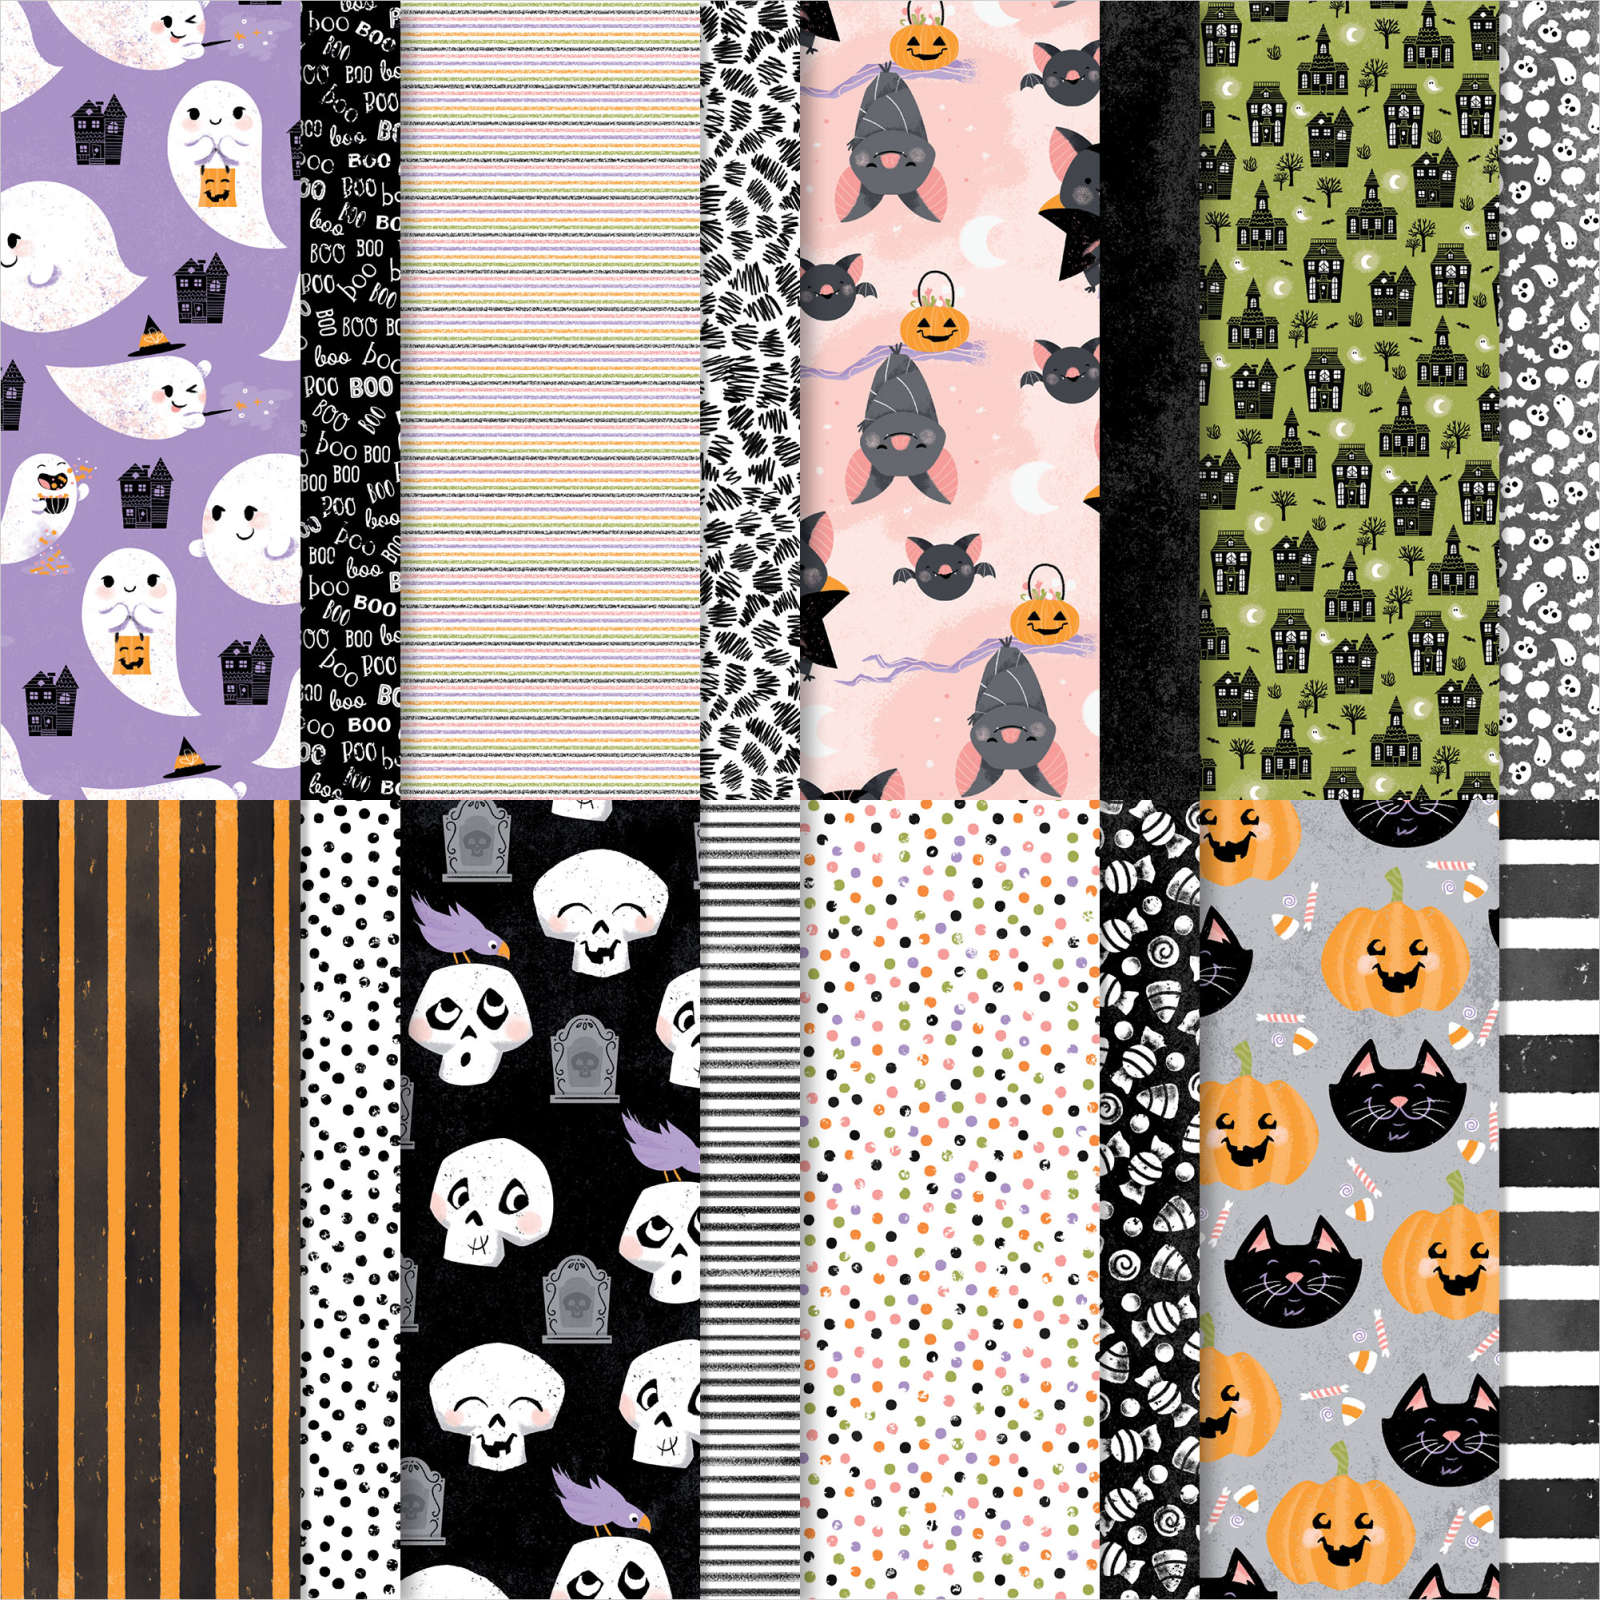
 Designer Series Paper")

 Glittered Organdy Ribbon")


")

")


")


")
")


")
")


")


")

")
")
")

")


")
")
")
")


")


")


")

")


")
")
 Designer Series Paper")
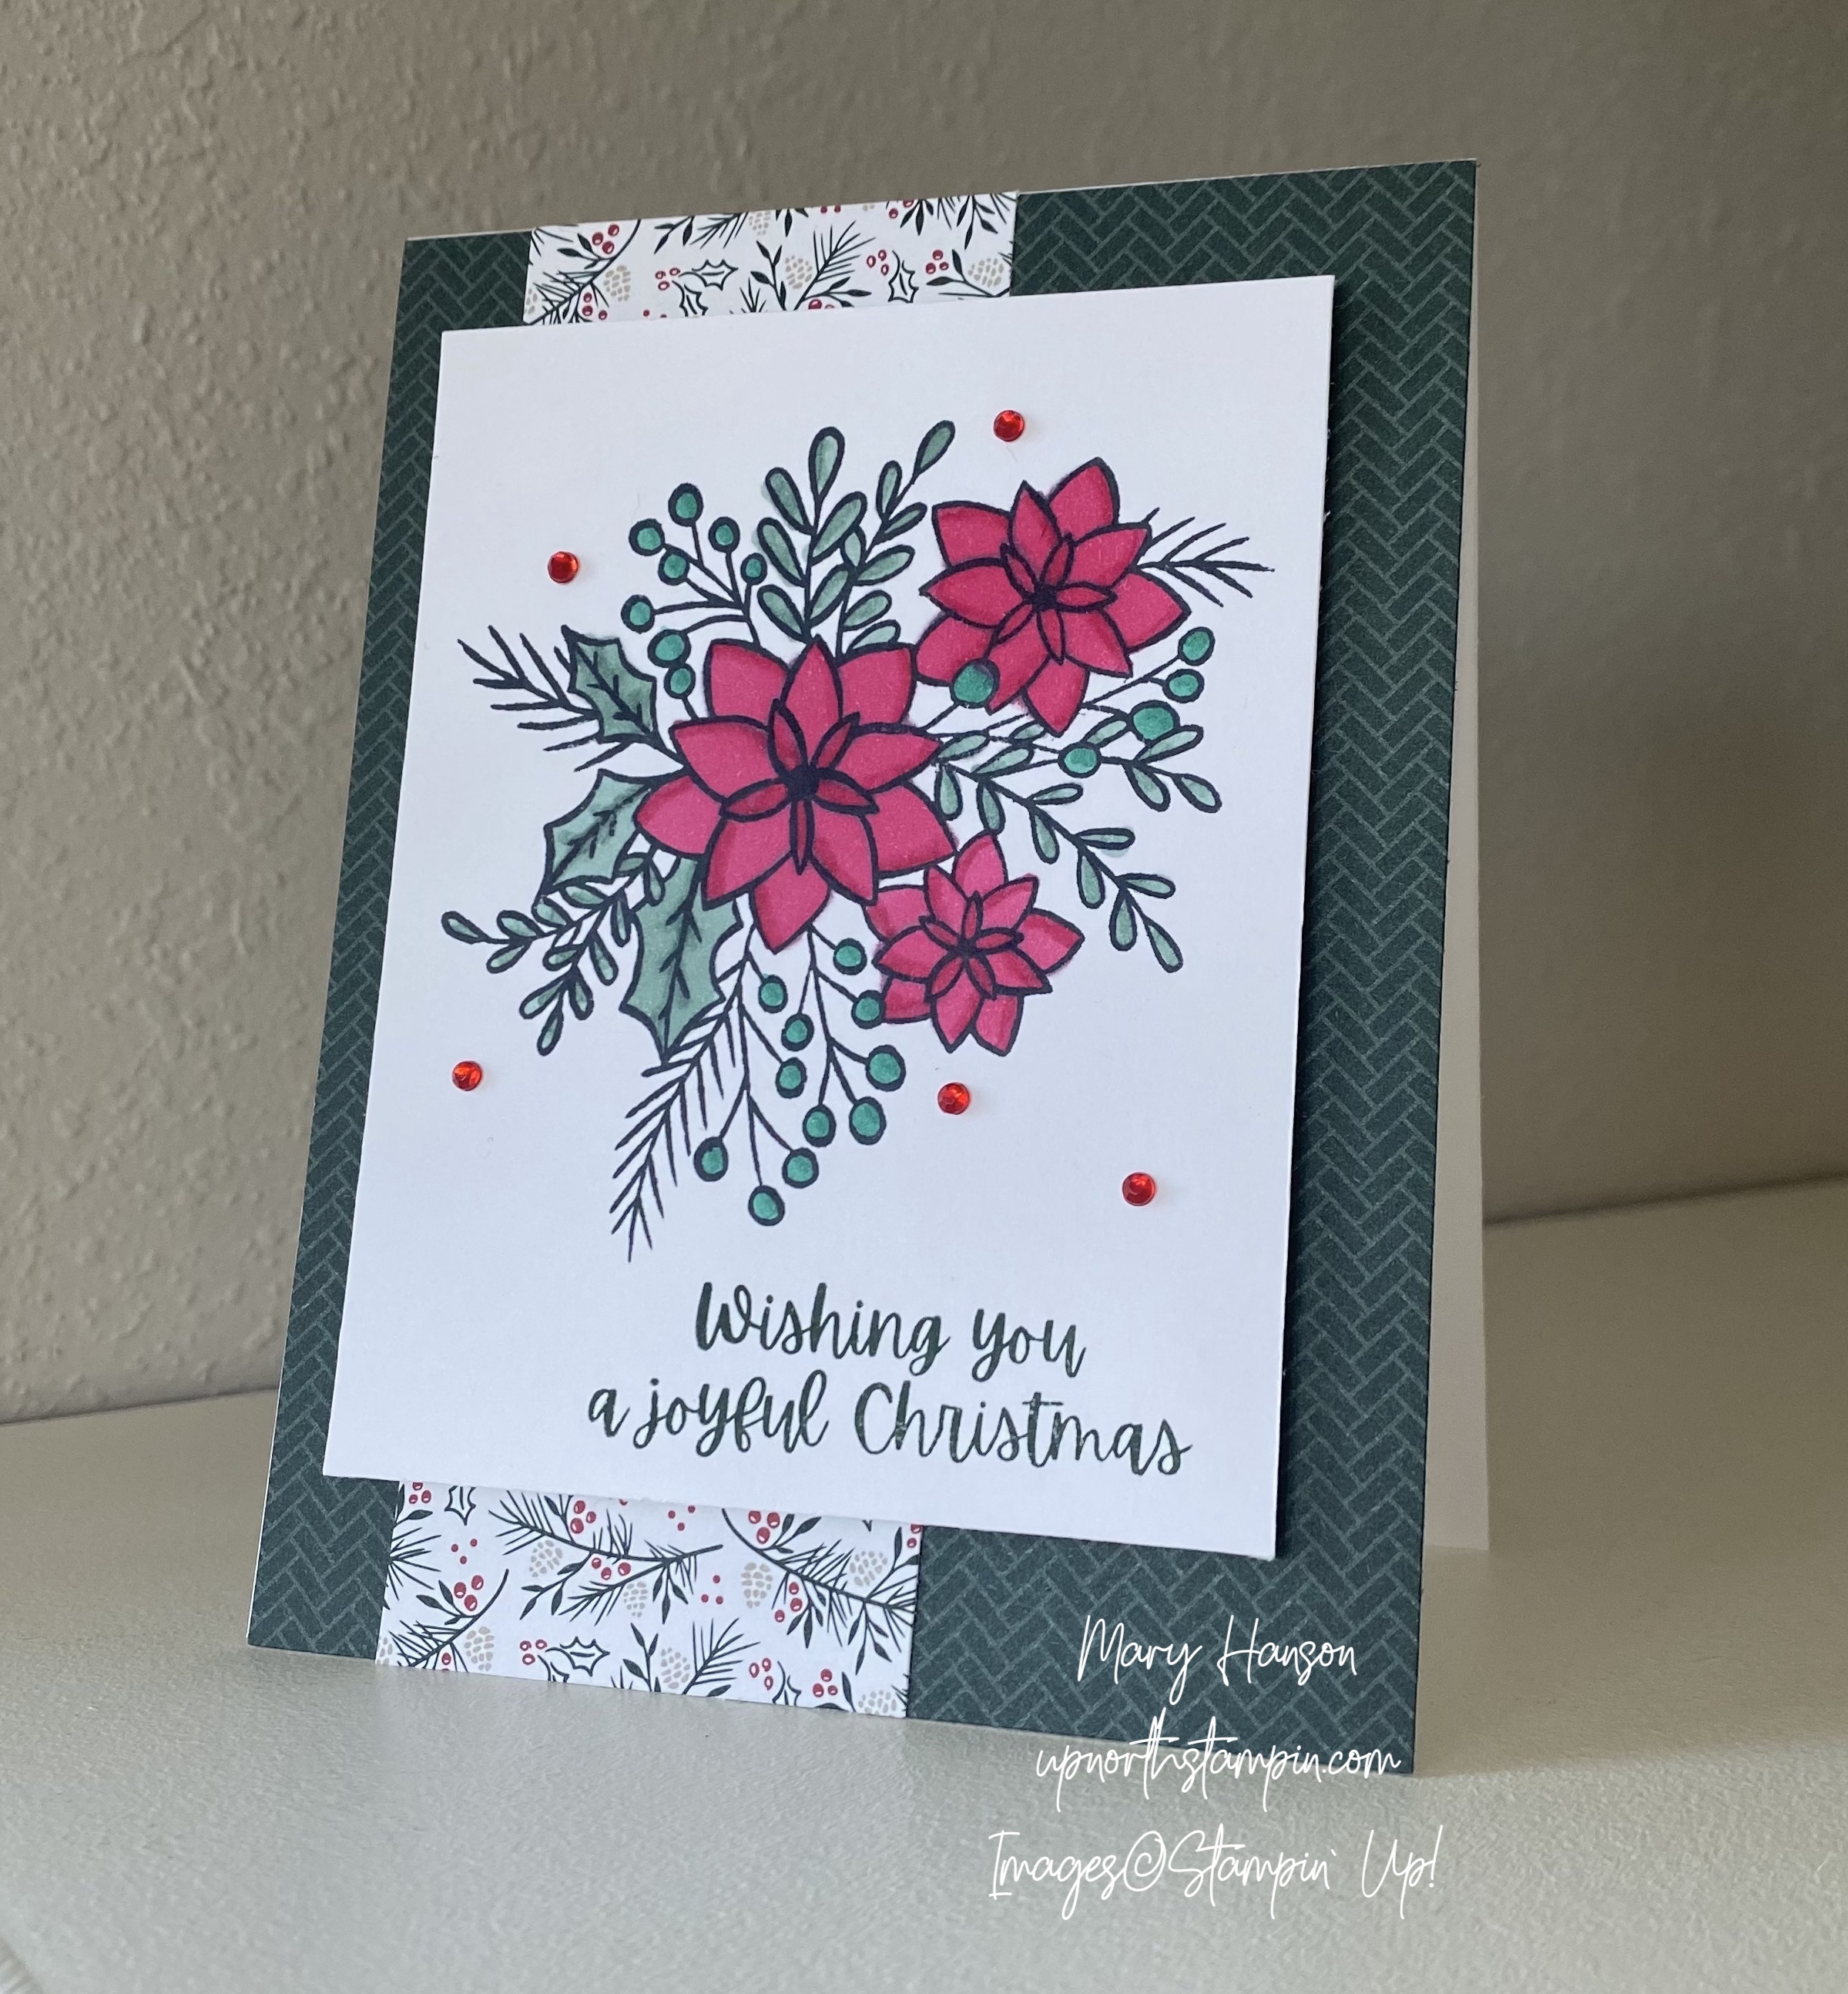
 Specialty Paper")


 Shimmer Ribbon")

