
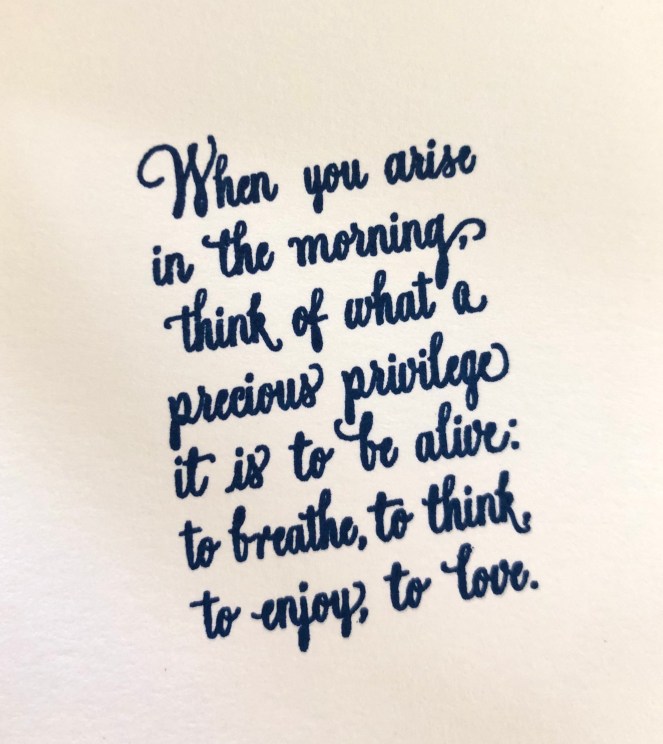
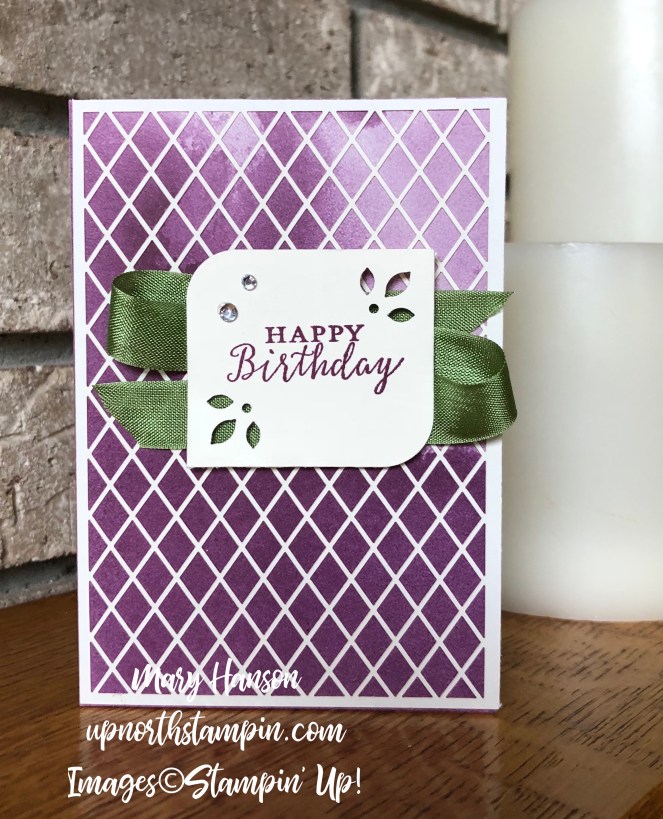
What a great thought, and what a great new Stamp Set by Stampin’ Up! in the new Annual Catalog! Here’s a card I made with the “Enjoy Life” stamp set, found on page 58. By the way, do you need a new catalog? I’d love to send you one! Just email me at marya2hanson@gmail.com!

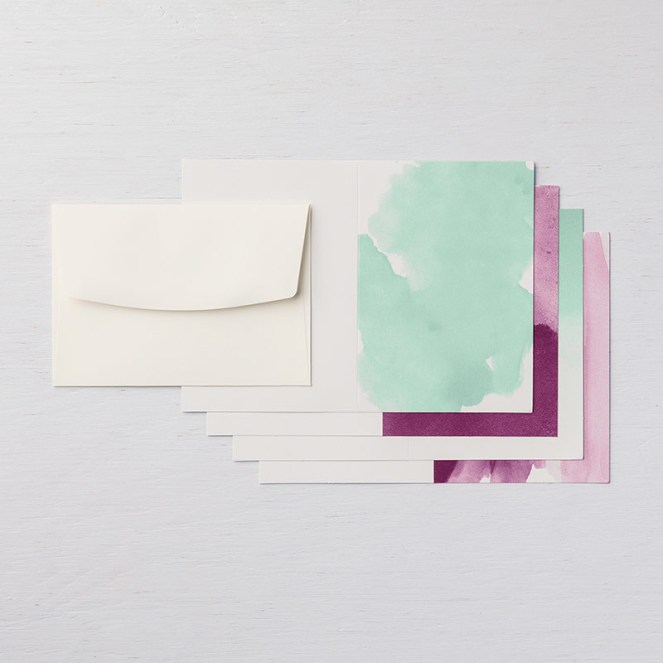
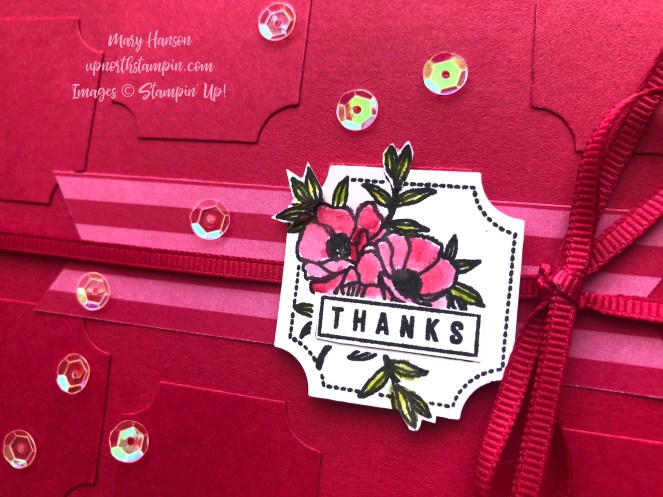
Do you love the silhouette image? I think the black ink over the soft Mint Macaron is so pretty! This simple card starts with a Delightfully Detailed Note Card with matching envelope. So easy, because the cards are already watercolored with Mint Macaron or Blackberry Bliss — no mess, no fuss!

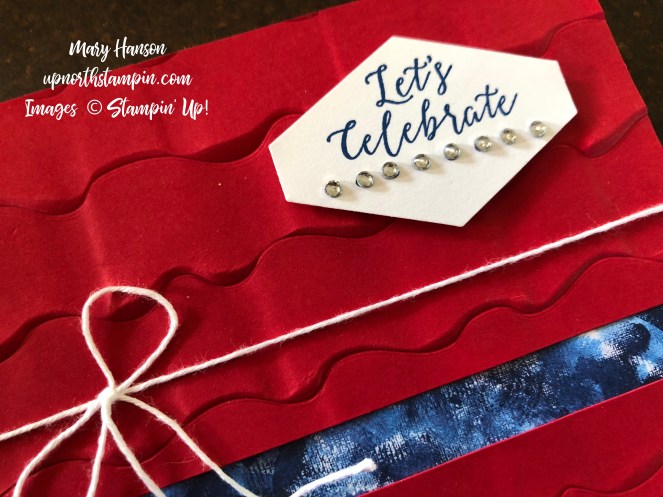
Because I wanted a full-sized A2 card, I cut the front off the notecard. I then used Memento Ink, which produces a sharp black image, to create my silhouette scene. It was that easy. Then I mounted the inked scene onto an 8 1/2 X 5 1/2″ card base scored at 4 1/4″, of Very Vanilla. I cut one more panel of Mint Macaron card stock at 5 1/4″ X 4″ and adhered to the Very Vanilla card base. I offset the inked panel, and then tied a piece of Mint Macaron Nature’s Twine around, forming some little knots just for fun.

I added some Faceted Dots to the bush image, and I was done! Soft and lovely! This stamp set has some of the most beautiful sentiments, don’t you think? Think of all the occasions for which you could send a card with these sayings.

Here are some more samples buy Stampin’ Up! Aren’t they gorgeous? I love the silhouette effect! The one on the right is also created with the Delightfully Detailed Notecards — you cannot be without these!

Click on any image below to start shopping with me! Please let me know if you have any questions or need anything from me!
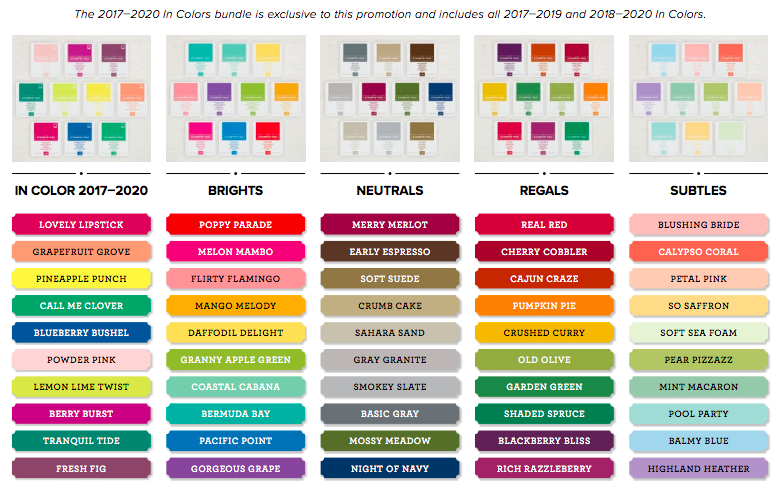
Don’t forget to use the Host Code if you make an online order with me for over $50 in July. You have only to use this Code: 6MP4UWMQ in order to receive the 1/8″ new Grosgrain Ribbon in your choice of the new In Colors — FREE!!
Product List

|

|
|||

|

|

|


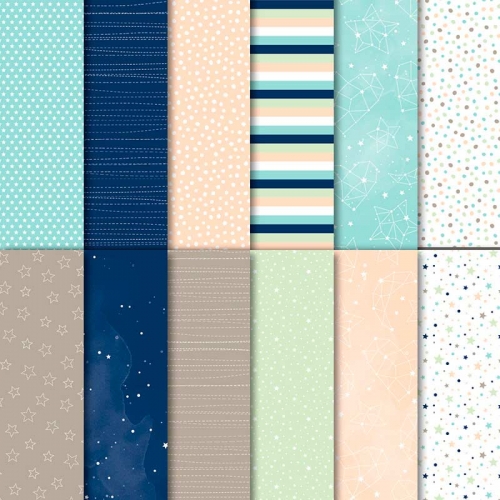
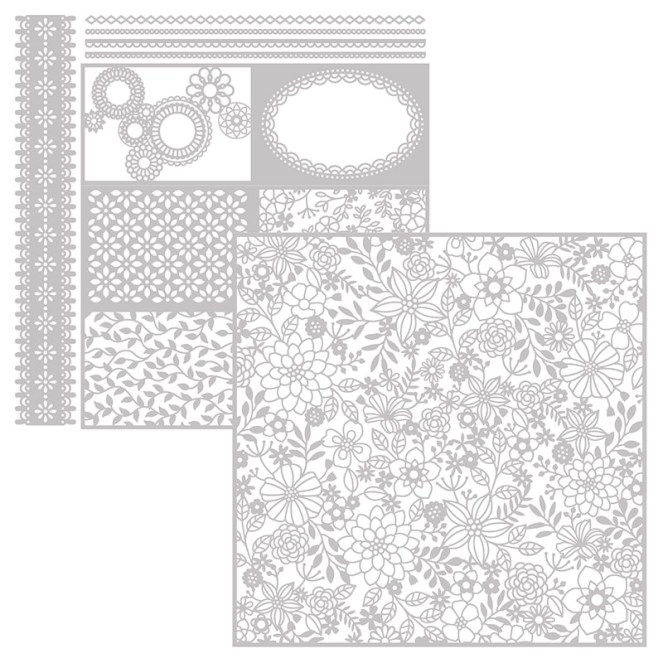
 Designer Series Paper")


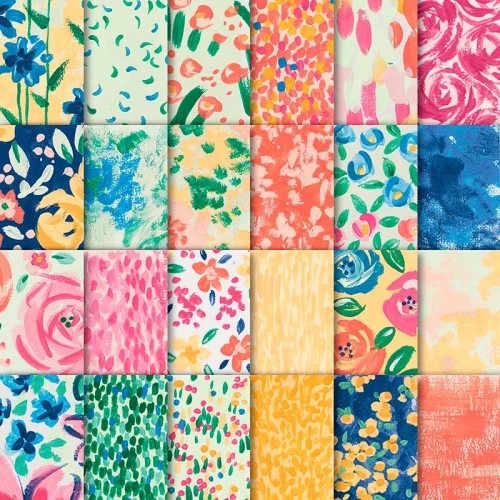


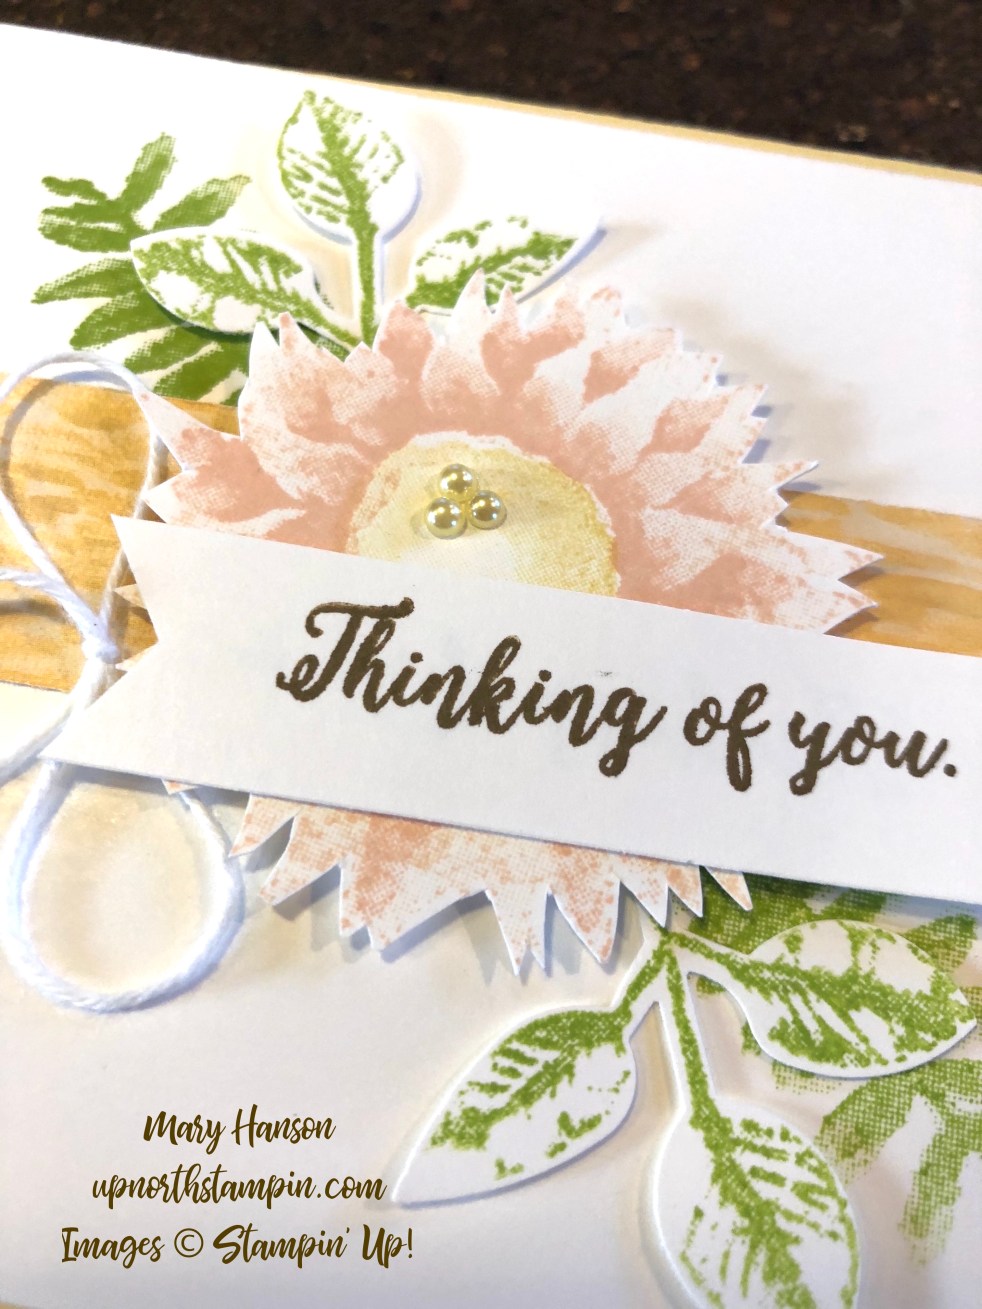
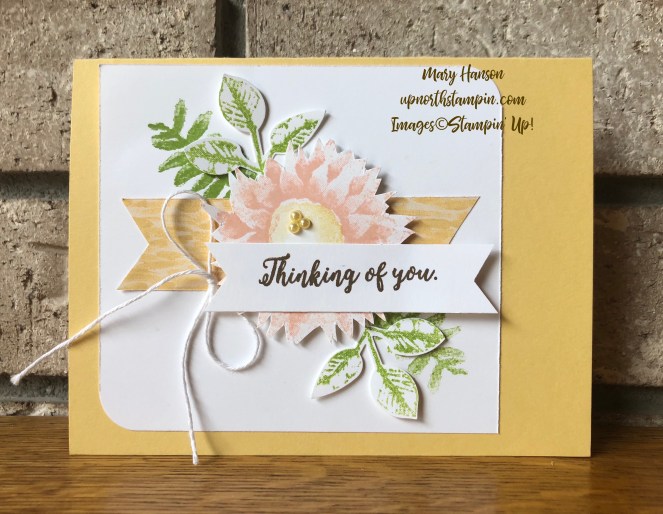
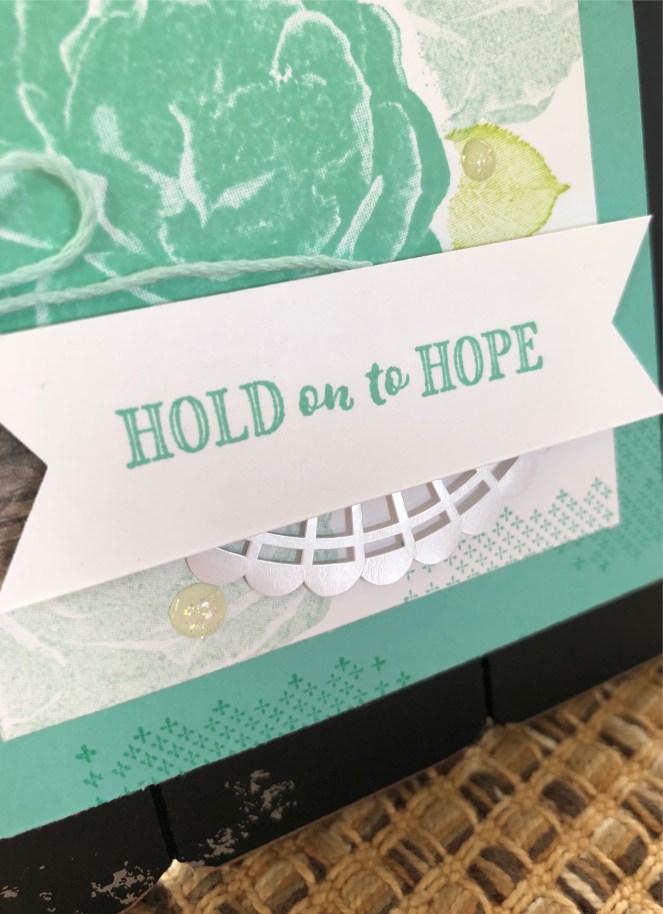
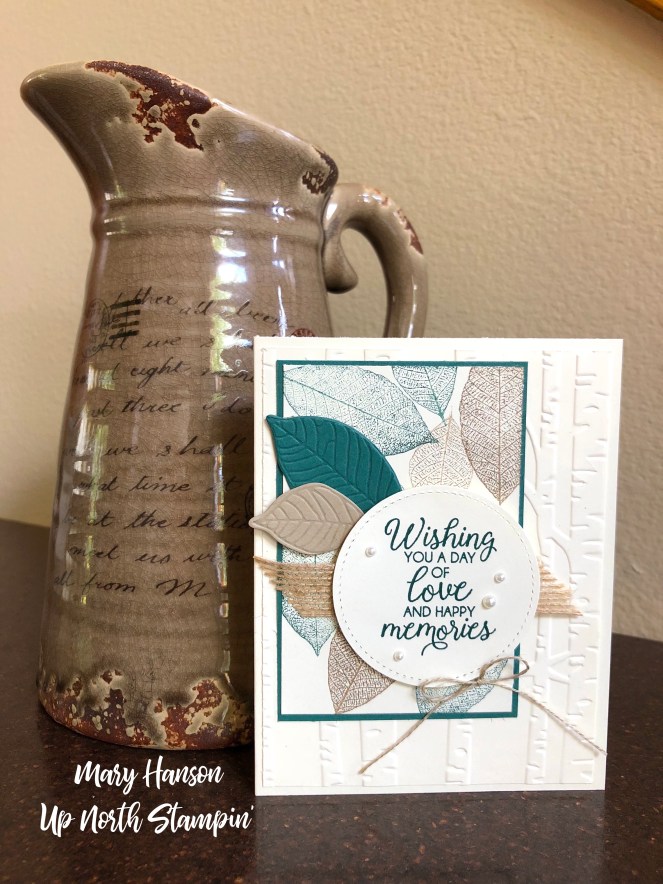
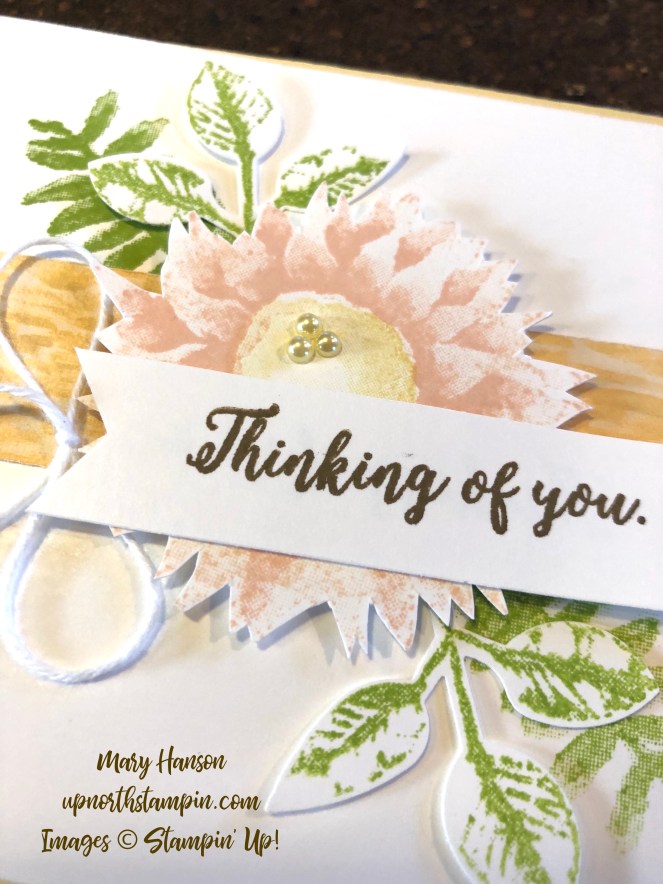 On a Whisper White base, I stamped a couple of additional leaves in Granny Apple Green, and then adhered a 1 1/4″ strip of paper from the Abstract Impressions Designer Series Papers that picked up on the So Saffron shades from the card base. I then started to build the flower scene onto the card base. I added a bow of Thick Whisper White Baker’s Twine, and three pearls from the “Share What You Love” Embellishments and there you have it! I love the soft shades of this flower — what a versatile stamp set! Clicking on any item below will bring you right to my shopping page.


 ‘
‘


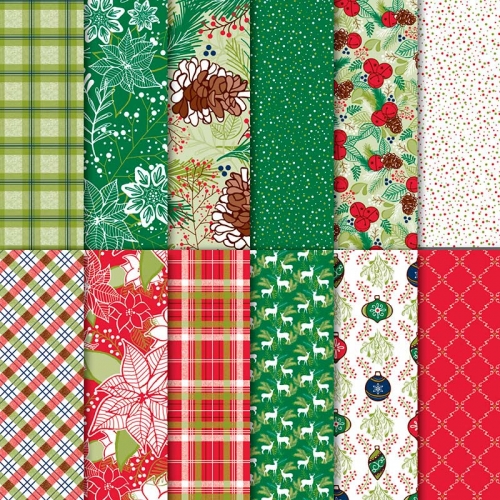
 Designer Series Paper")

 Grosgrain Ribbon")


 Burlap Ribbon")


