June 2022 Paper Pumpkin Information…
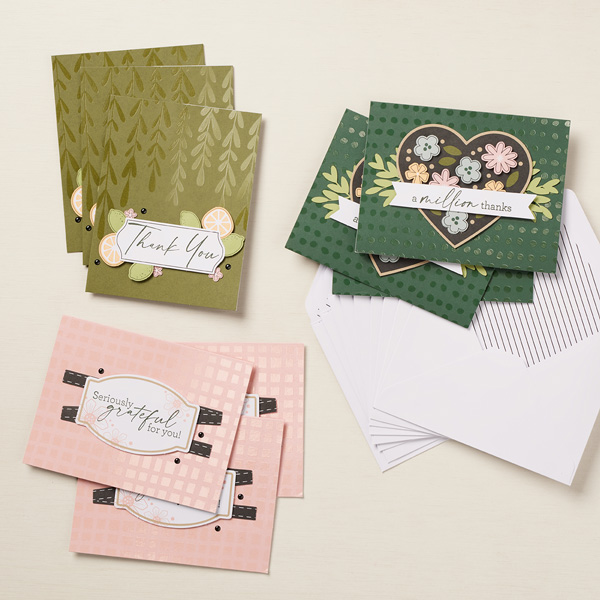
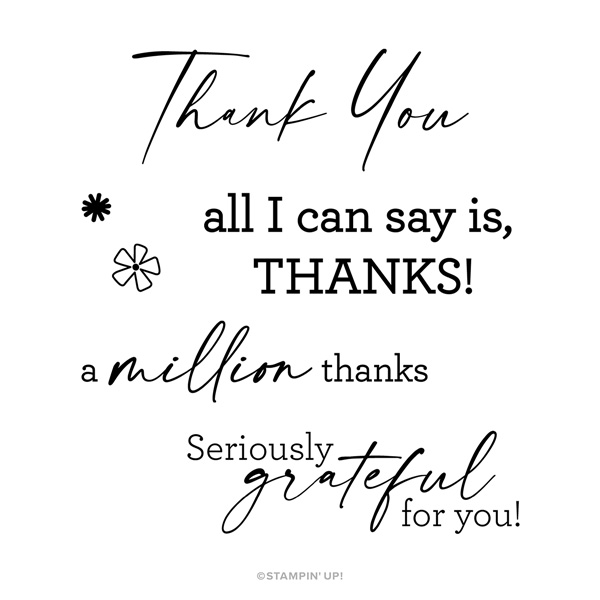
Give your card collection a reFRESH with the “Pick of the Crop” June Paper Pumpkin Kit! Inspired by open markets, summer produce, and community, this kit will help you express your love, gratitude, friendship, and adoration with sentiments that say “Love you a whole bunch”, “You’re the pick of the crop”, “You are the sweetest,” and so many more.

The kit includes all the supplies you need to create NINE cards (3 each of 3 designs), coordinating envelopes, and one mini canvas shopping bag that you can stamp, color, and personalize for a fun twist on card packaging. Coordinating kit colors: Blackberry Bliss, Cajun Craze, Calypso Coral, Crushed Curry, Garden Green, Night of Navy, Soft Succulent (Ink spot color: Calypso Coral)
Plus, this month you can purchase additional mini canvas shopping bags for a fun twist on card packaging. Just our way of expanding one of our favorite kits of the season!
WHAT IS PAPER PUMPKIN?
Paper Pumpkin is our monthly One-Stop Box™ that offers a unique variety of paper projects for subscribers of any skill level to enjoy! These thoughtfully themed and all-inclusive craft kits allow you to explore your creativity, try new techniques, and discover your potential in papercrafting.
The BEST part about Paper Pumpkins? YOU have complete control over your account! You can suspend it, skip a month, cancel anytime — whatever fits you! If you’re interested in subscribing to Paper Pumpkin, you can either sign up for a subscription where you are billed monthly for your kit (with FREE SHIPPING – THIS IS WHAT I DO!) or you can purchase a prepaid subscription in my online store. To see more information and to sign up for the monthly subscription, click here. To see the options for prepaid subscriptions in my online store, click here.

Please let me know if you have any questions. You must sign up for the June Paper Pumpkin by June 10 — I can’t wait for you to join the fun!
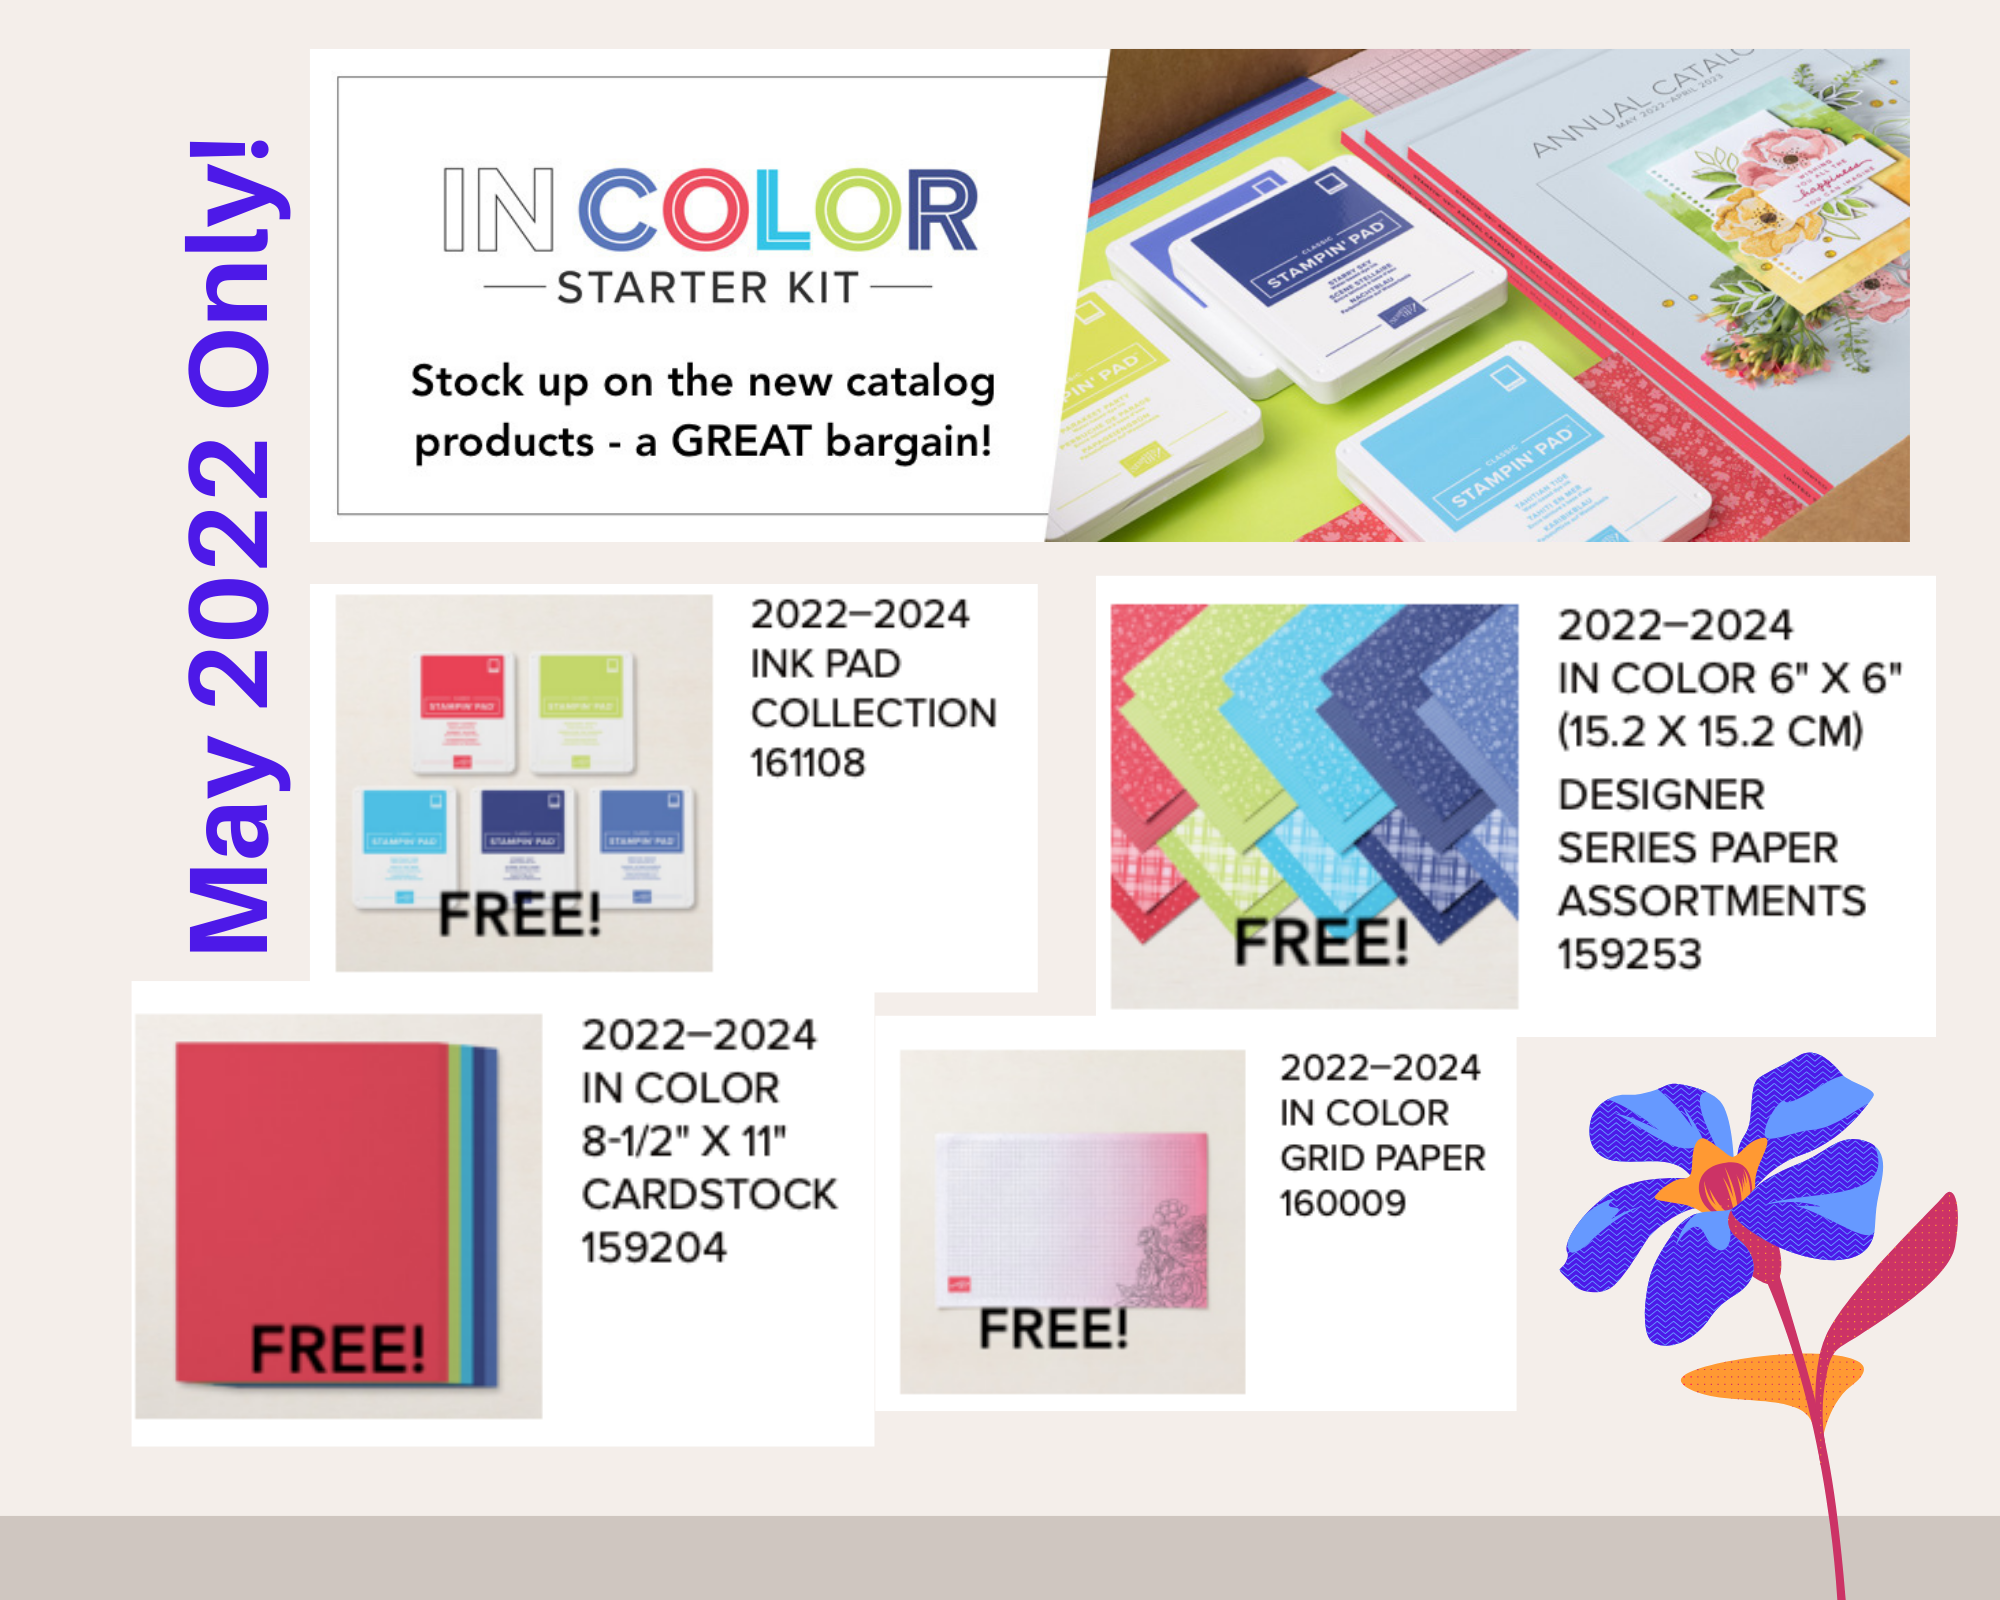
It’s May, and that means a new host code. Place an online order with me for $50 or more, and you’ll receive brand new embellishments from me! Here’s the Host Code you need:
QRR72VBW (Non-Club Members Only!)
Mary


")
")

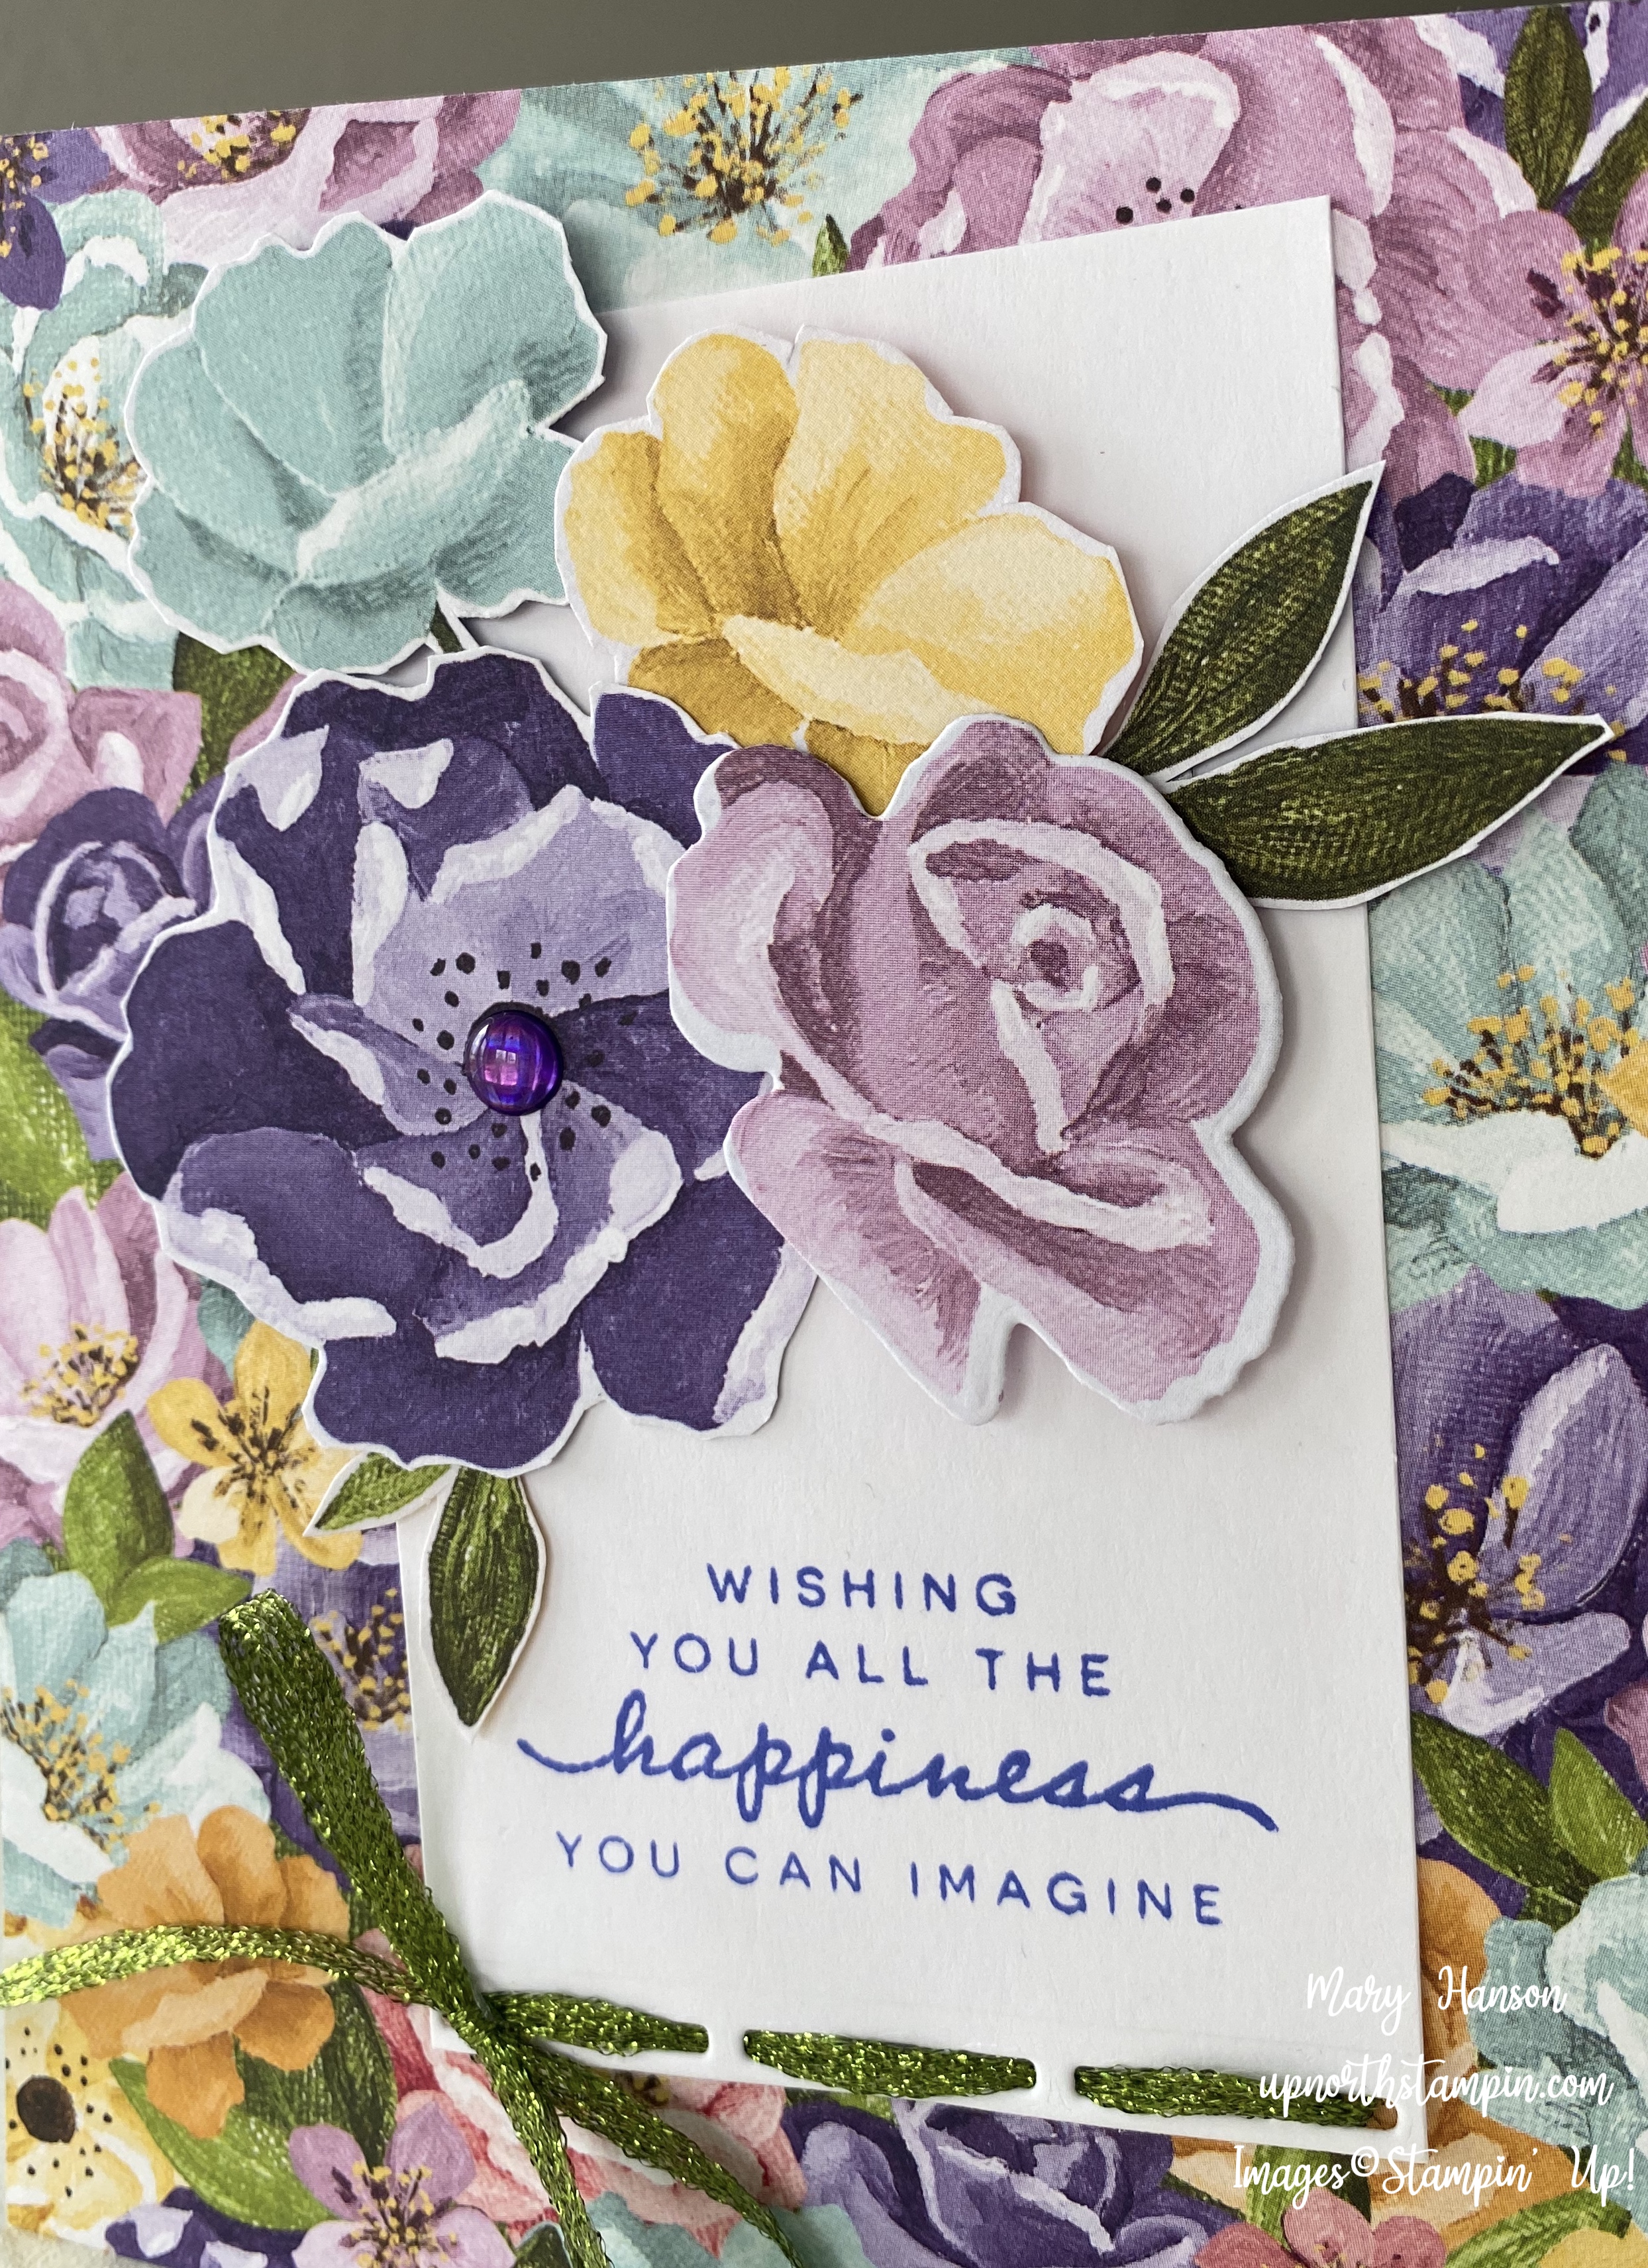
 Designer Series Paper")


")
")
 Designer Series Paper")


 Designer Series Paper")


")


")
 Designer Series Paper")


")
 Designer Series Paper")
")
")
")


 Metallic Woven Ribbon")
 Woven Metallic Ribbon")